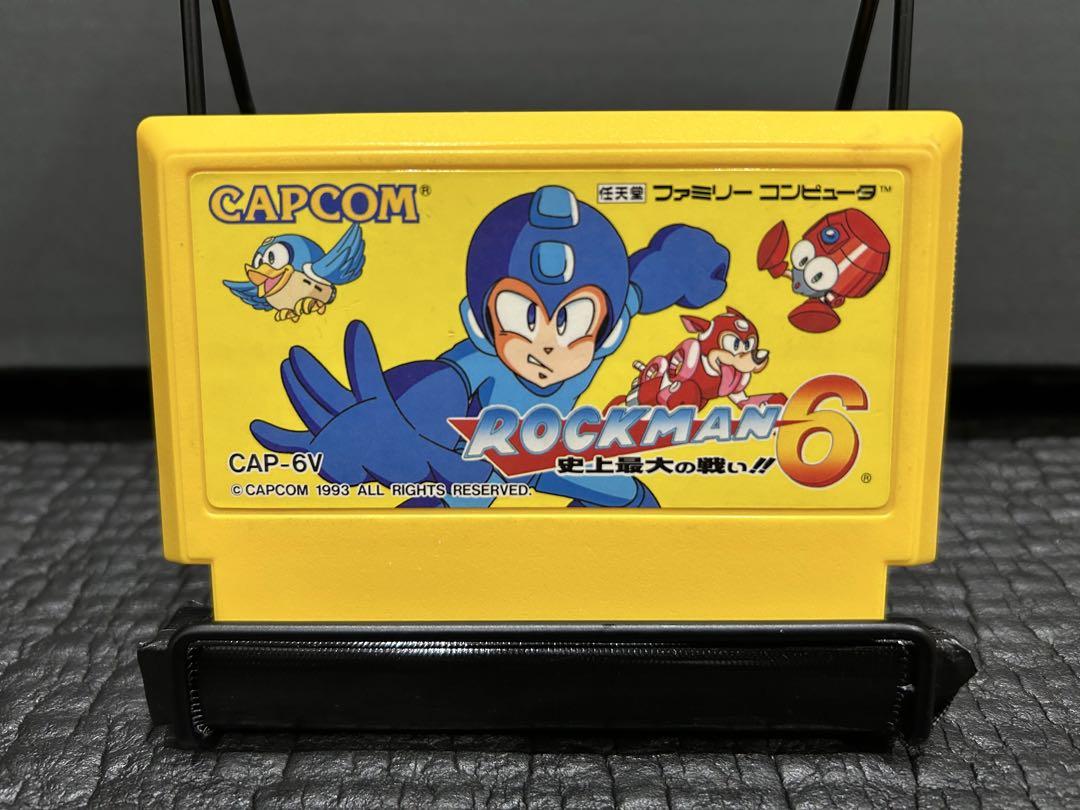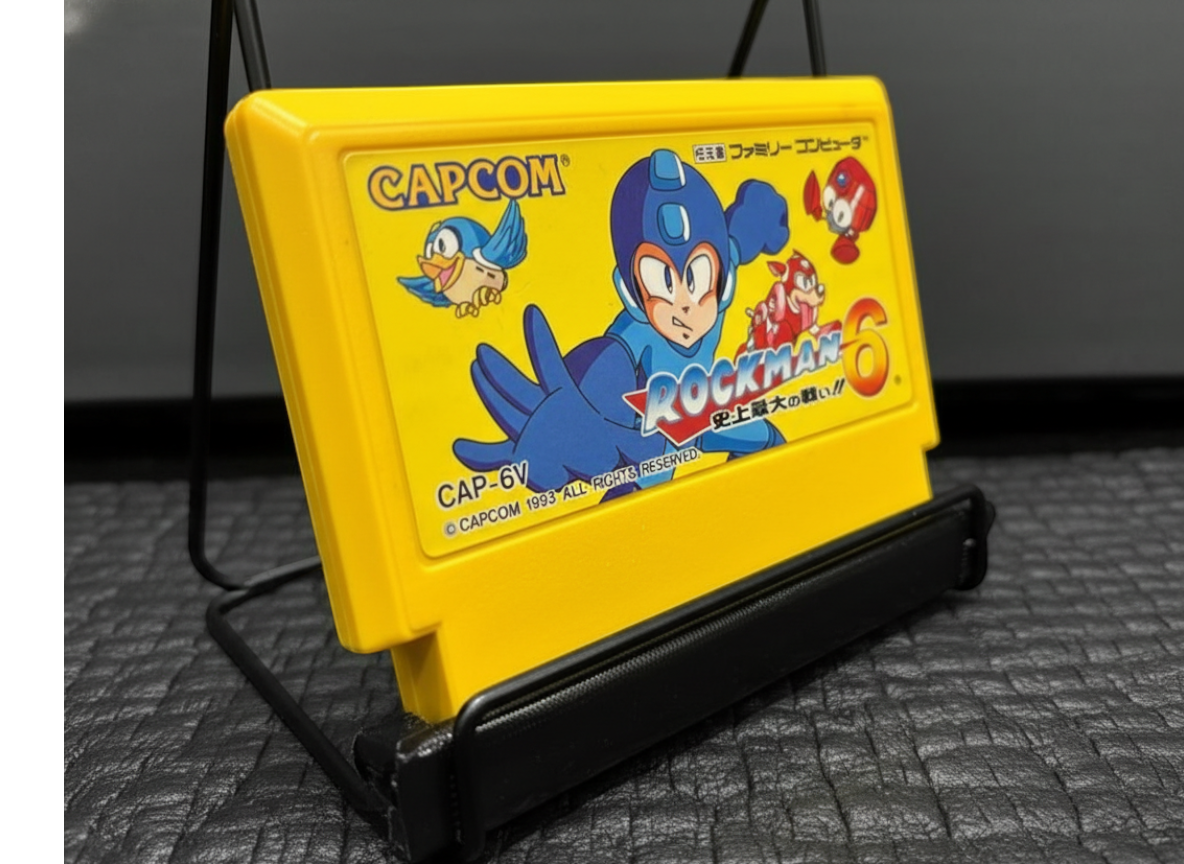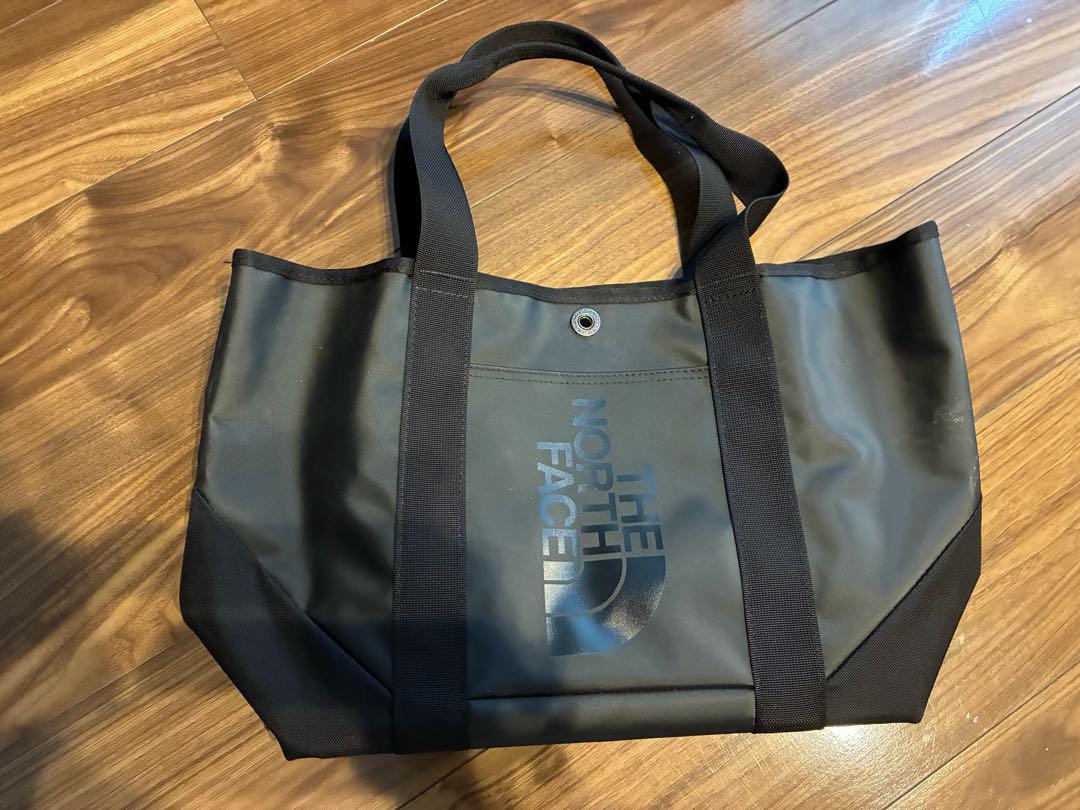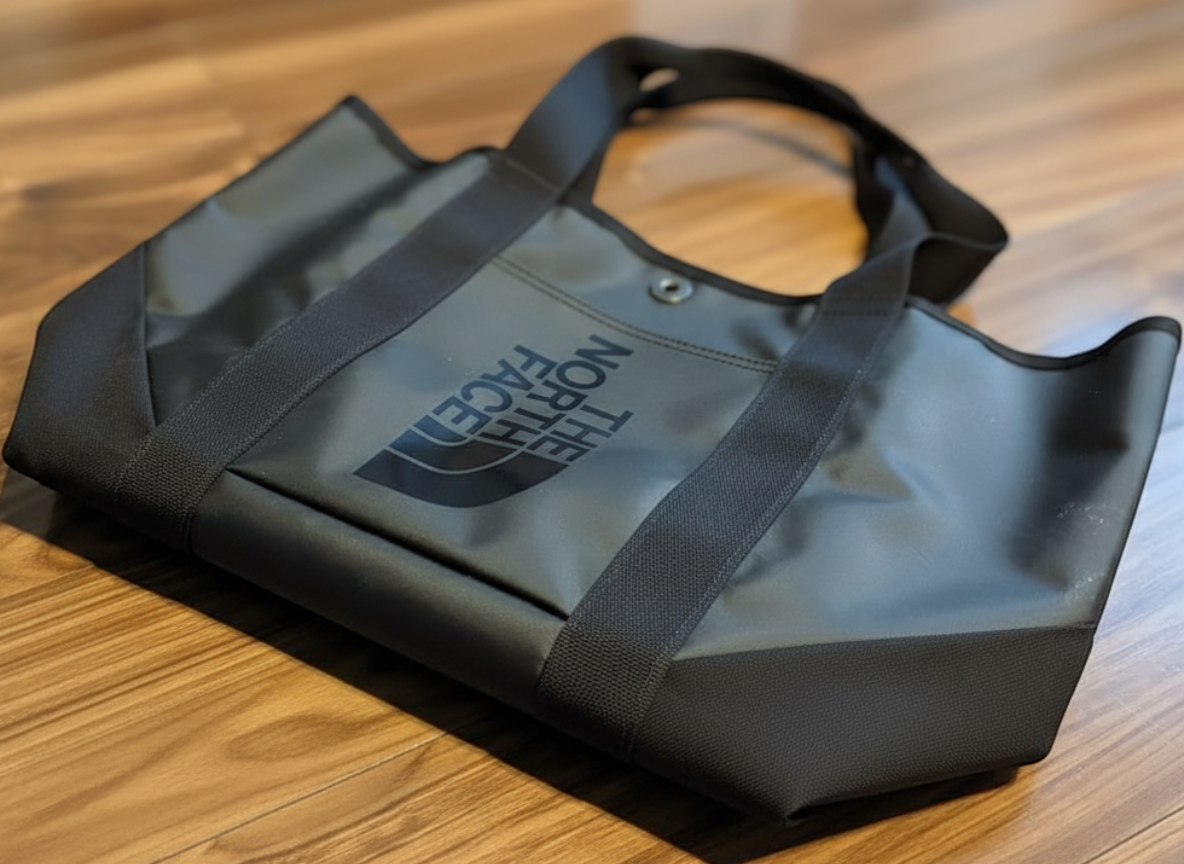
Edit With AI
Overview
Edit With AI allows you to automatically edit the input image by providing a textual description of the changes that you want to make.
For example, you can ask to add or remove objects from the image, change a color, etc.
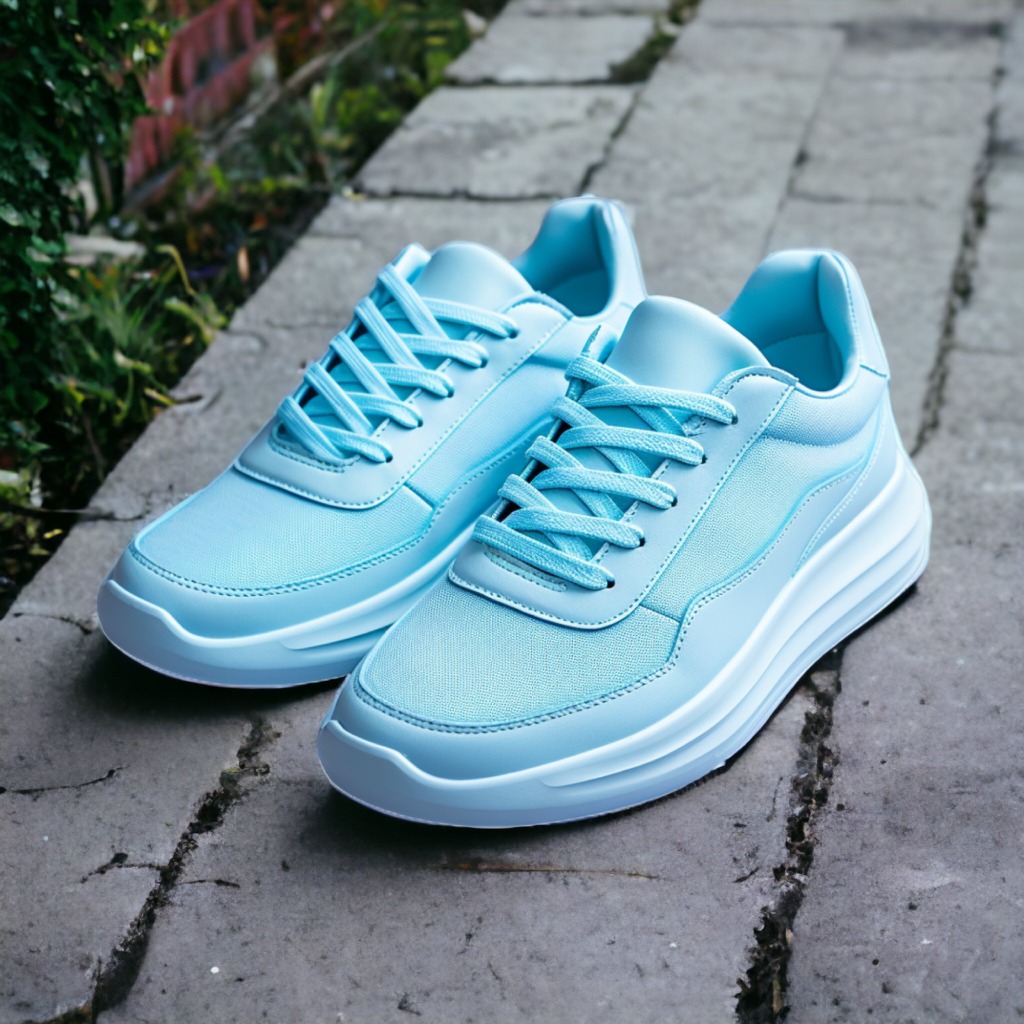
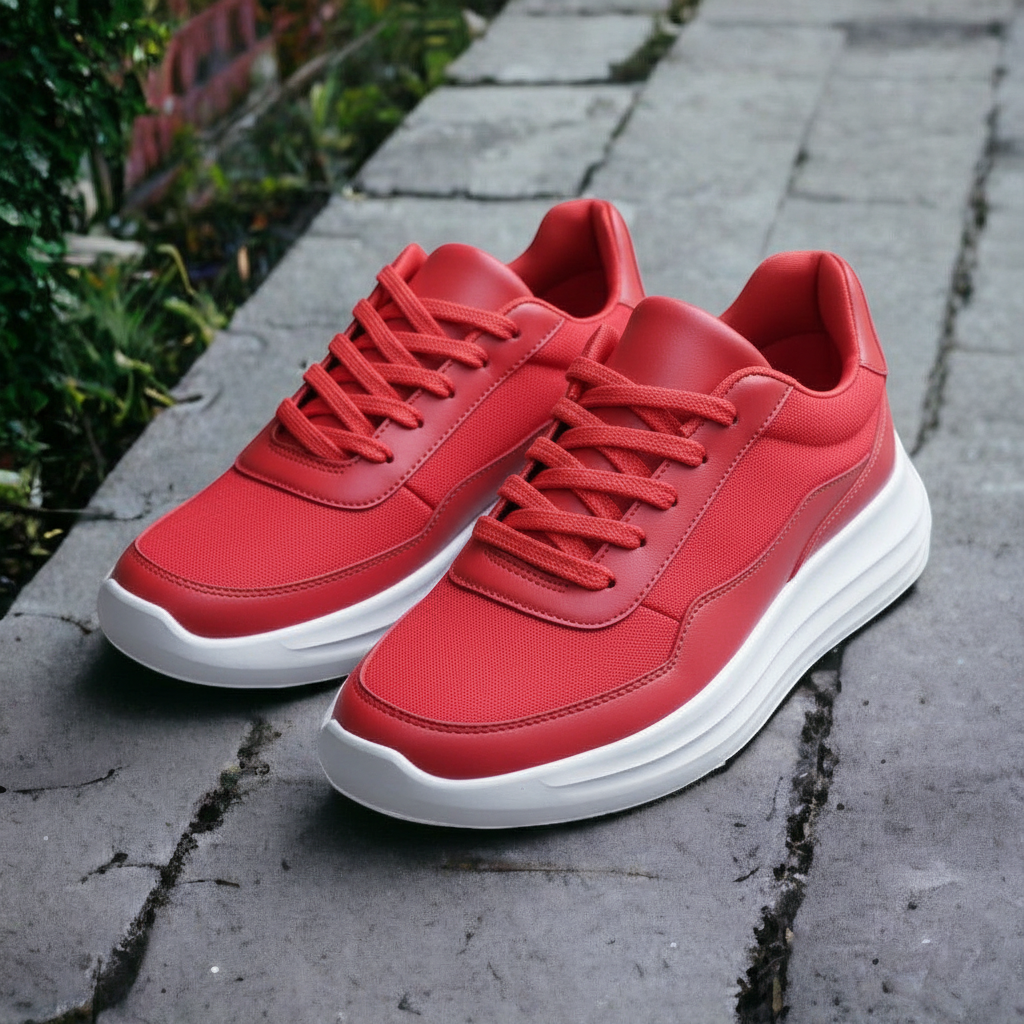
To use Edit With AI, set the parameter editWithAI.mode to ai.auto and use the parameter editWithAI.prompt to describe the changes:
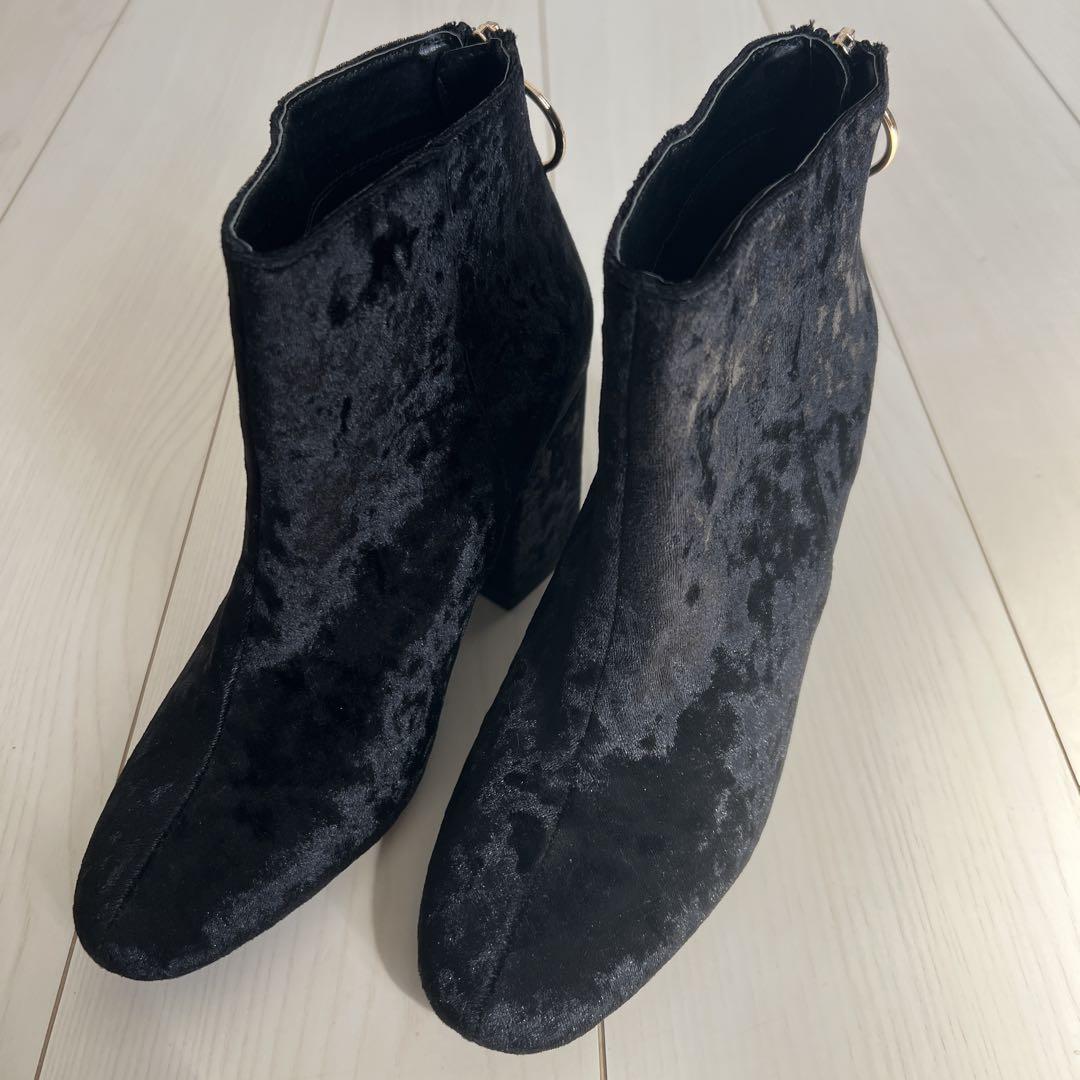
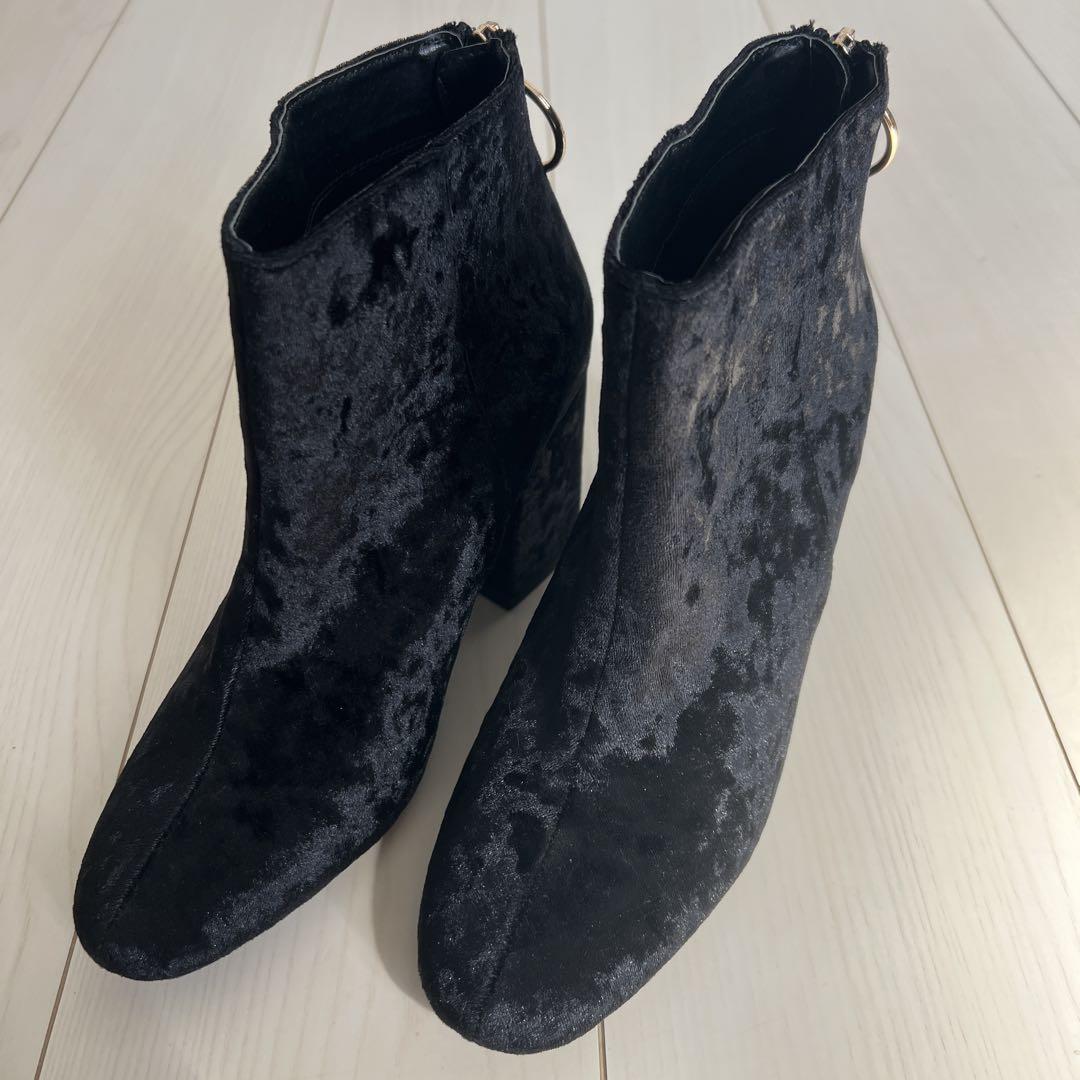
(original image)
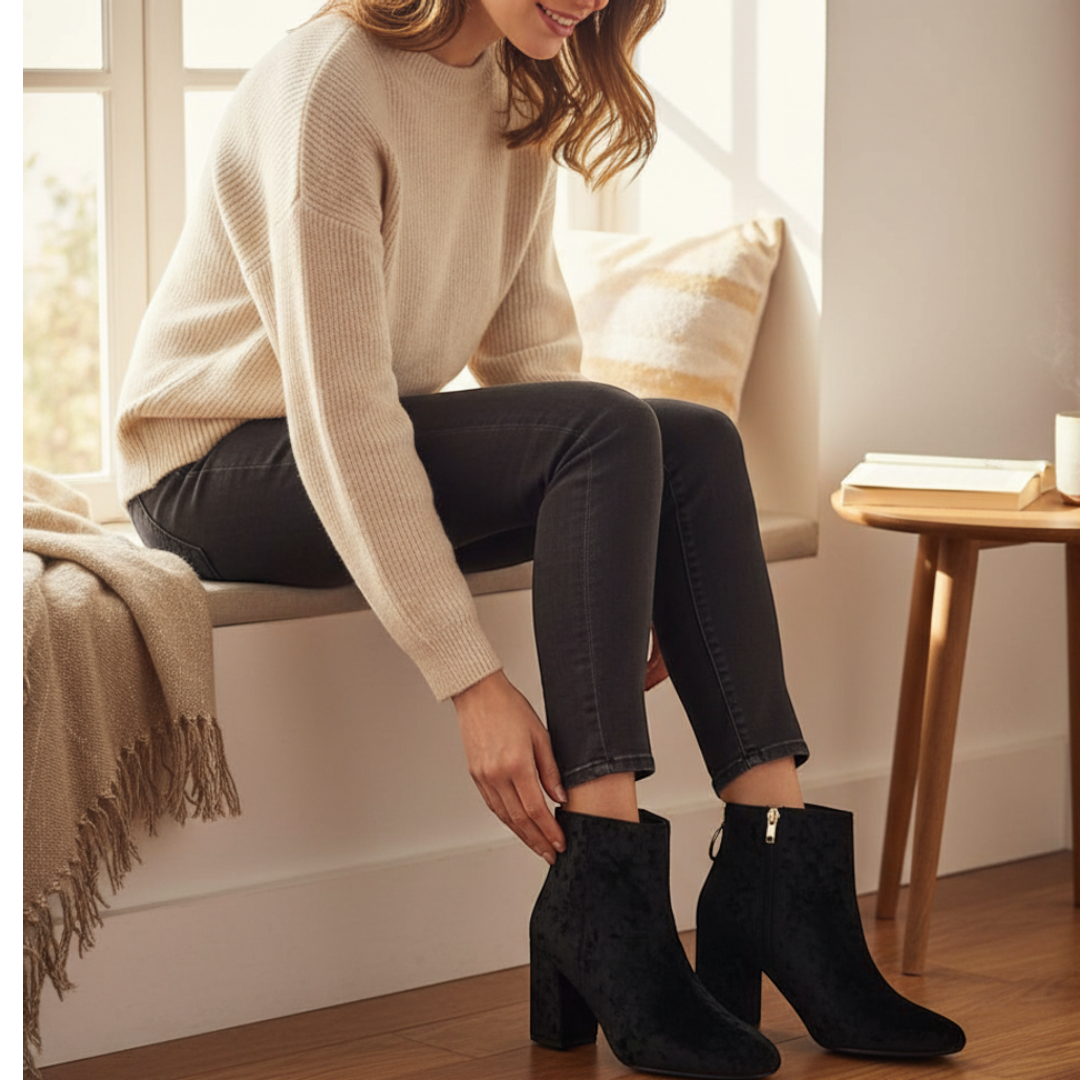
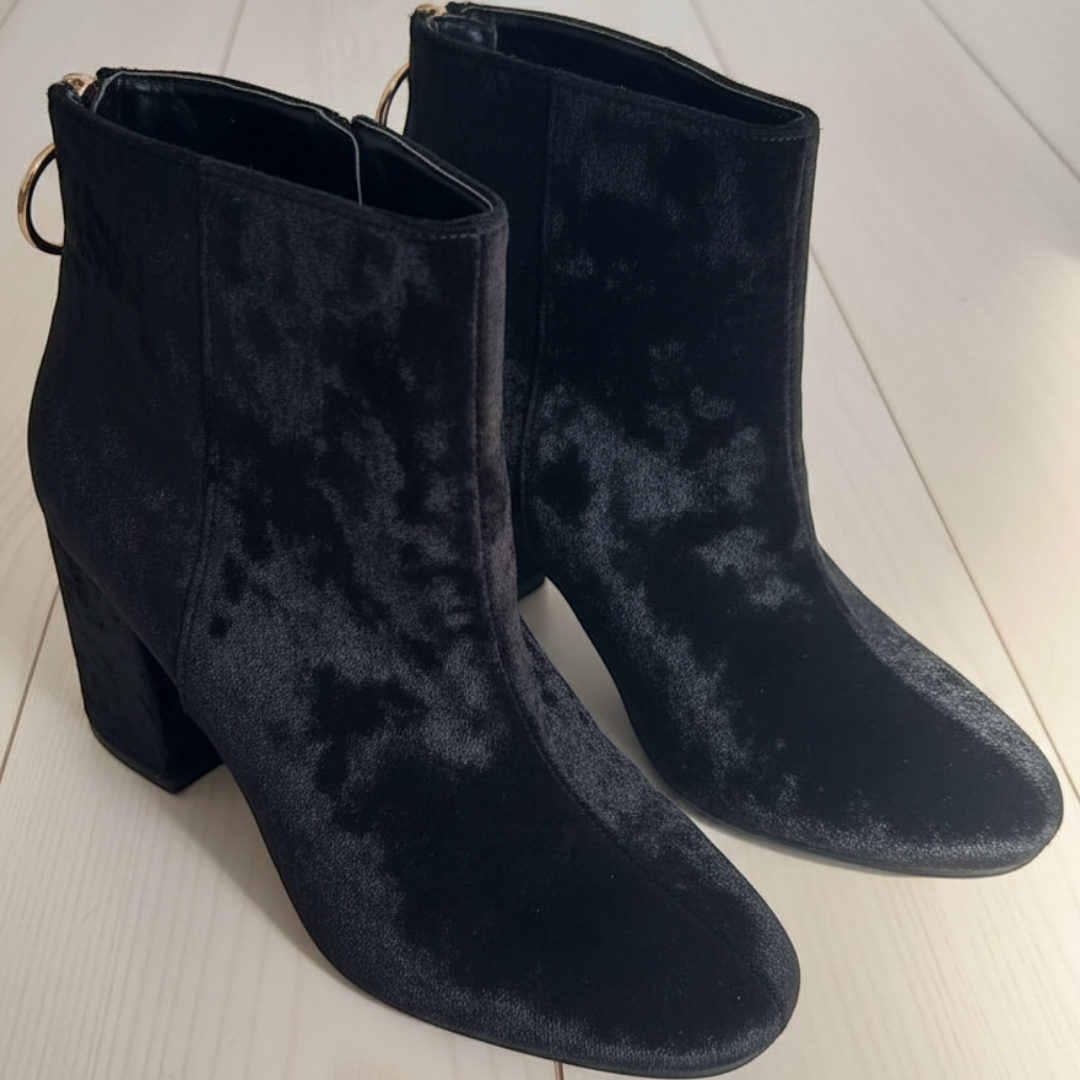
(edited image)

editWithAI.prompt="Change the shoes color to red"
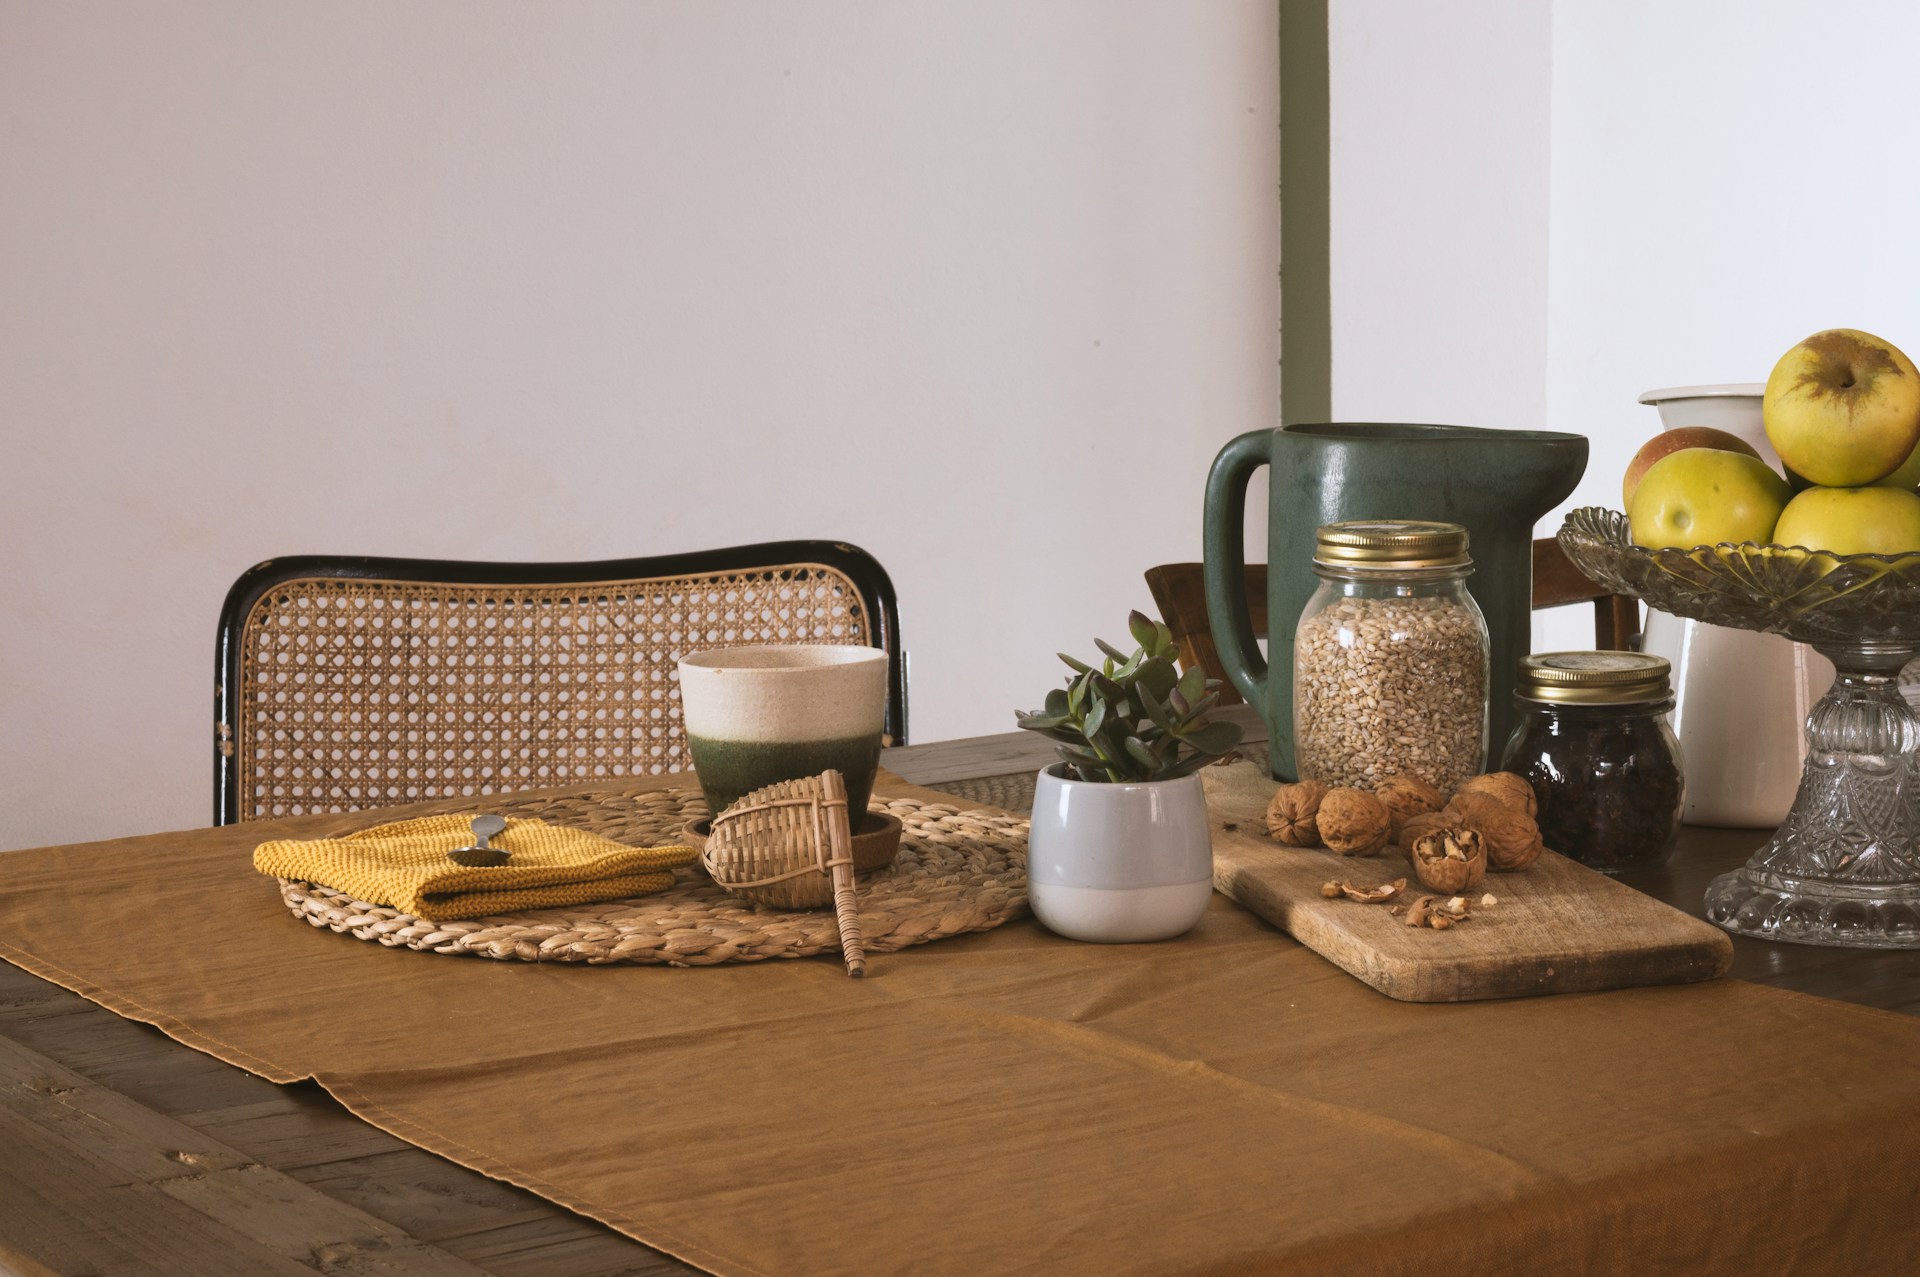
editWithAI.prompt="Remove all the objects on the table"
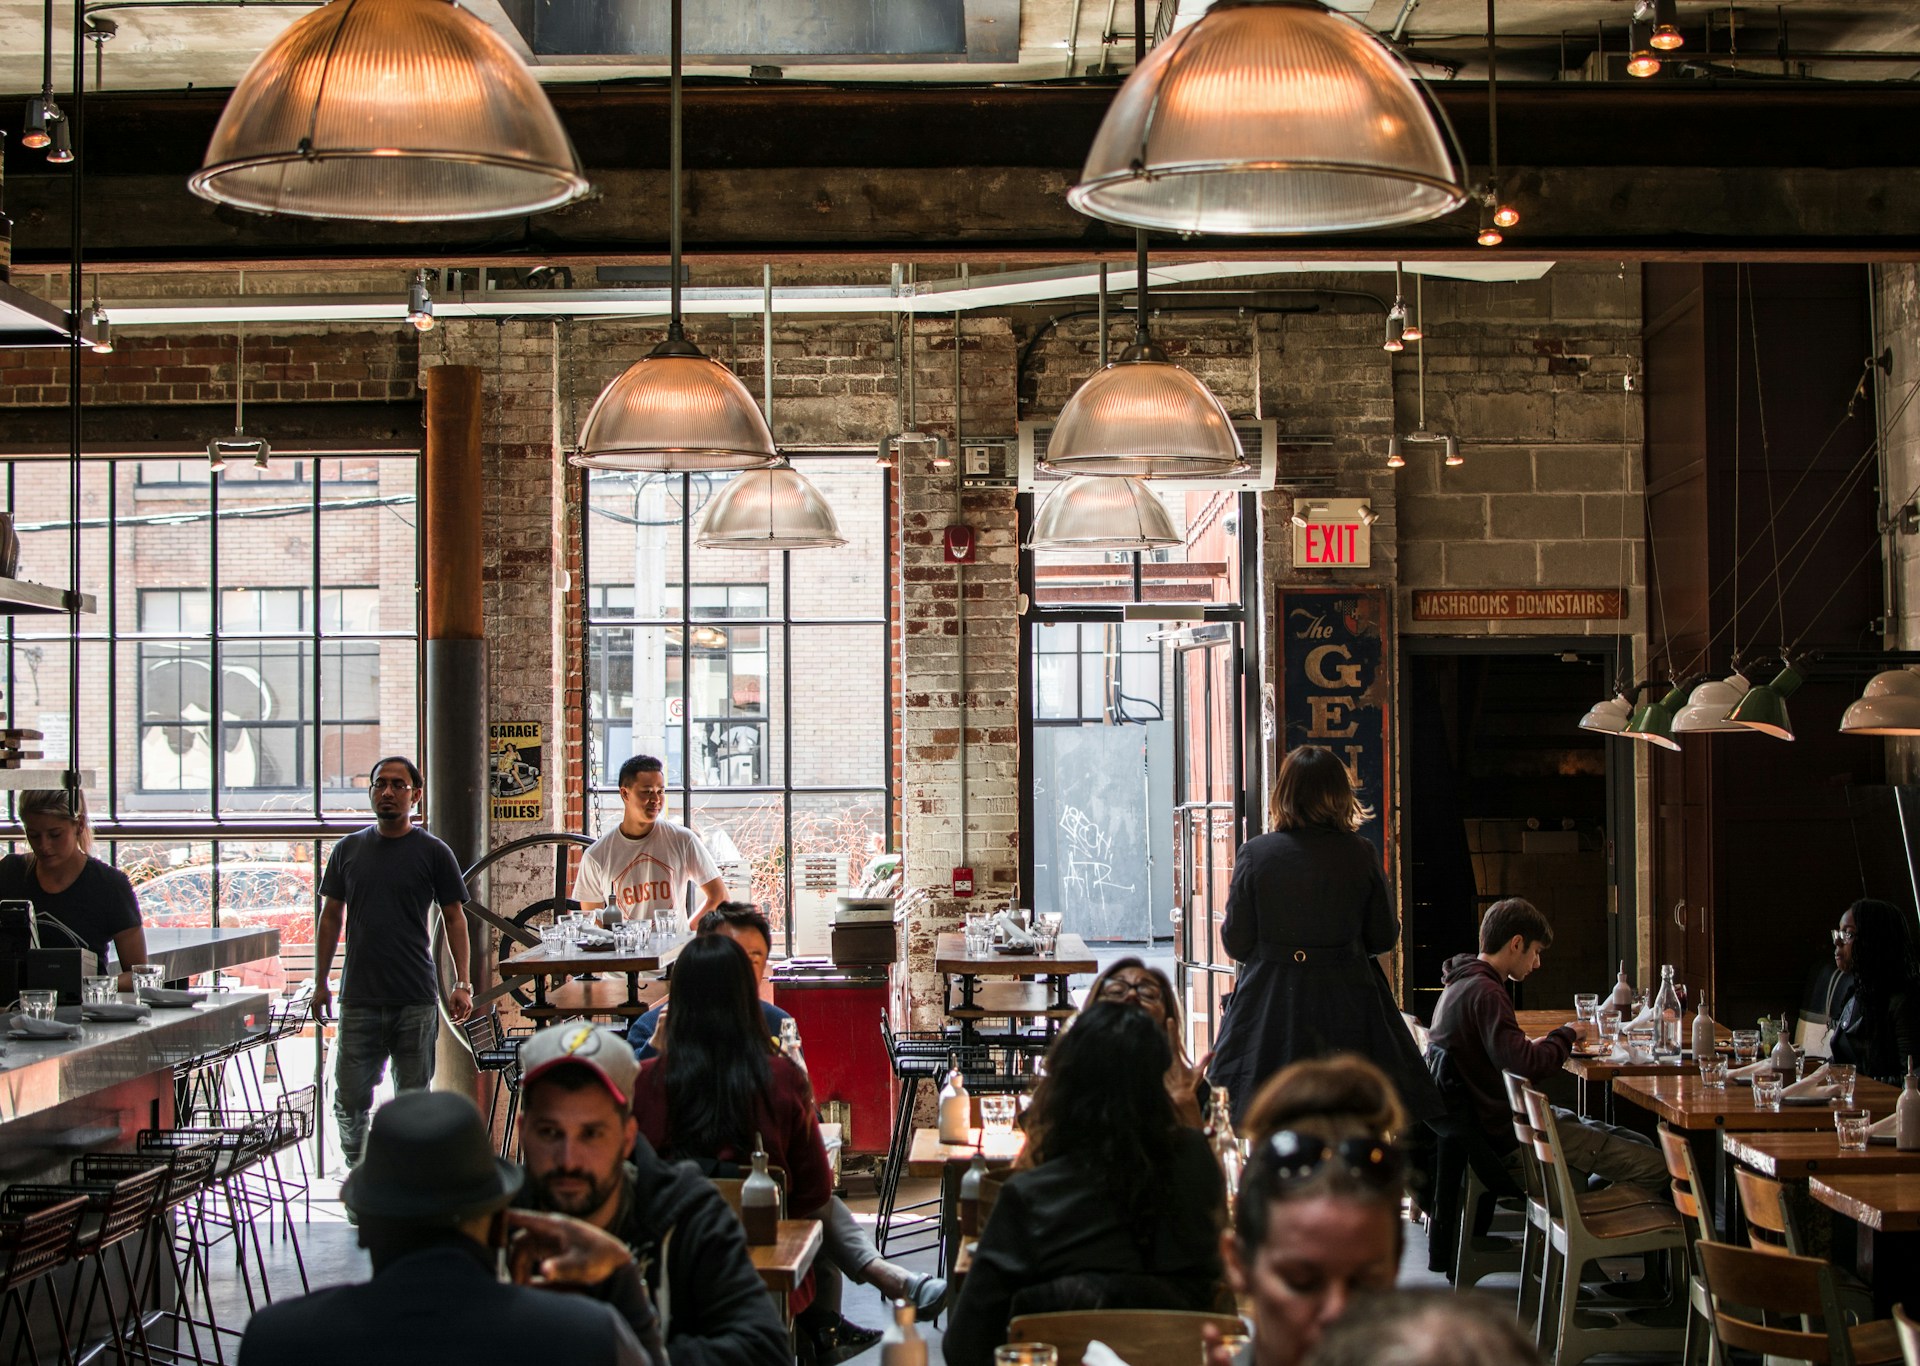
editWithAI.prompt="Remove all the people"
If you want to give it a try, here's the code to reproduce the first example above:
curl --request POST \
--url https://image-api.photoroom.com/v2/edit \
--header 'x-api-key: YOUR_API_KEY_HERE' \
--form imageFile=@/path/to/image.png \
--form removeBackground=false \
--form referenceBox=originalImage \
--form editWithAI.mode=ai.auto \
--form editWithAI.prompt='Change the shoes color to red' \
--output result.pngWhich resolutions are supported?
By default, Edit With AI will produce outputs at a resolution of 1K (1024x1024).
Output resolutions of 2K and 4K are available for Enterprise plans:


If you're interested to use 2K or 4K resolution, please contact our team to book a demo.
Examples of Use Cases
Product Staging
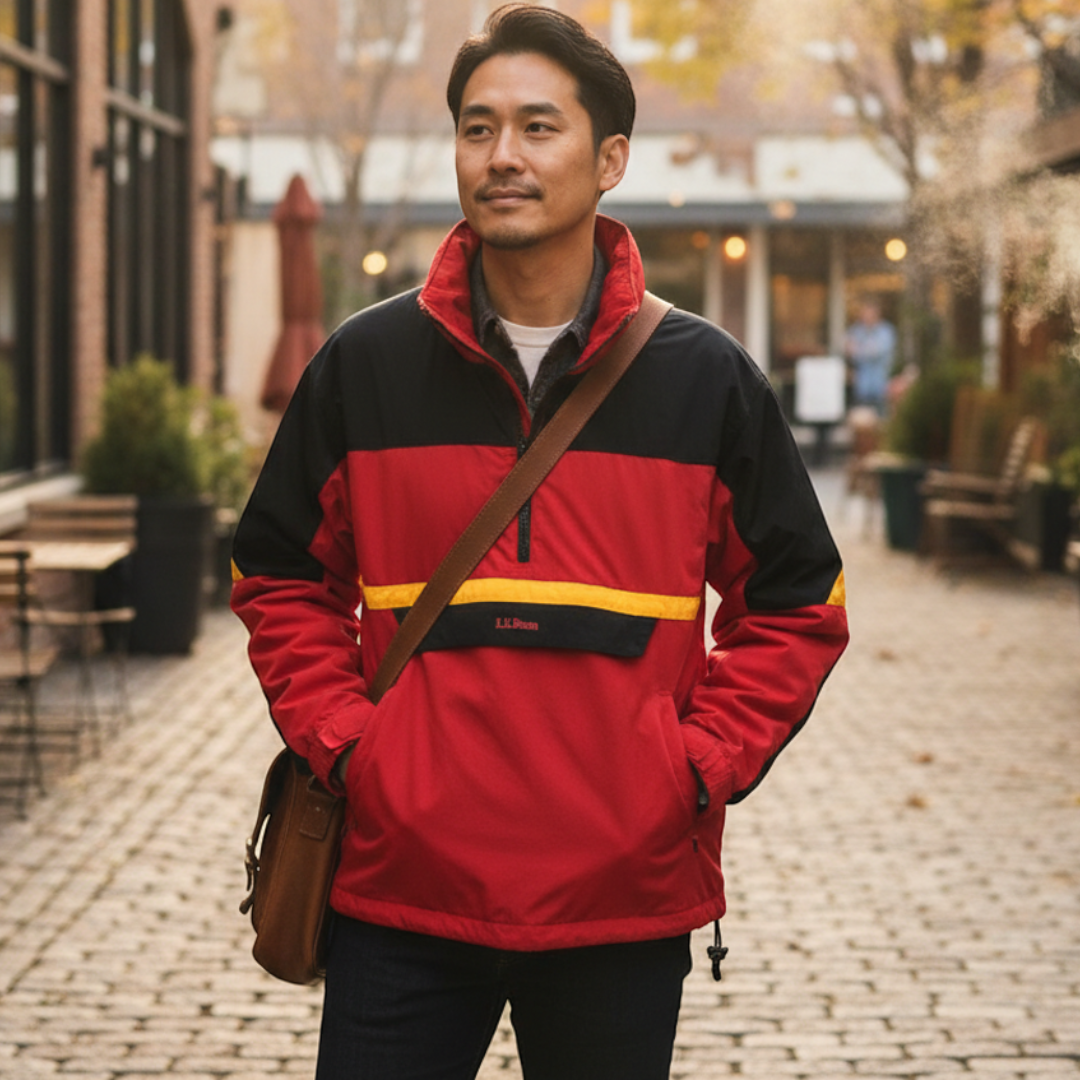
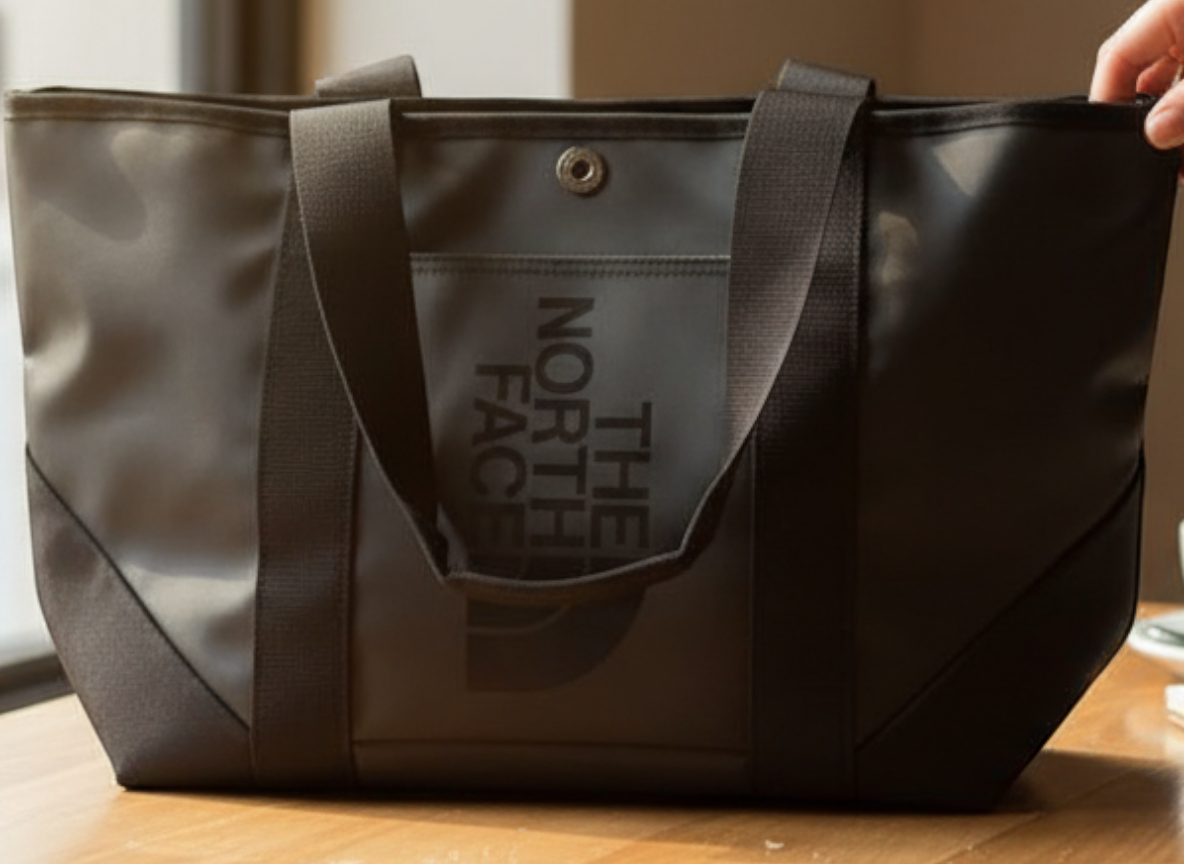
You can use Edit With AI to place an item into a realistic lifestyle scene, like being held, worn, or placed on a table.
To do so, set the following value for the argument editWithAI.prompt:
Here are examples of the results it can produce:
(original image)
(edited image)


If you want to give it a try, here's the code to reproduce the results above:
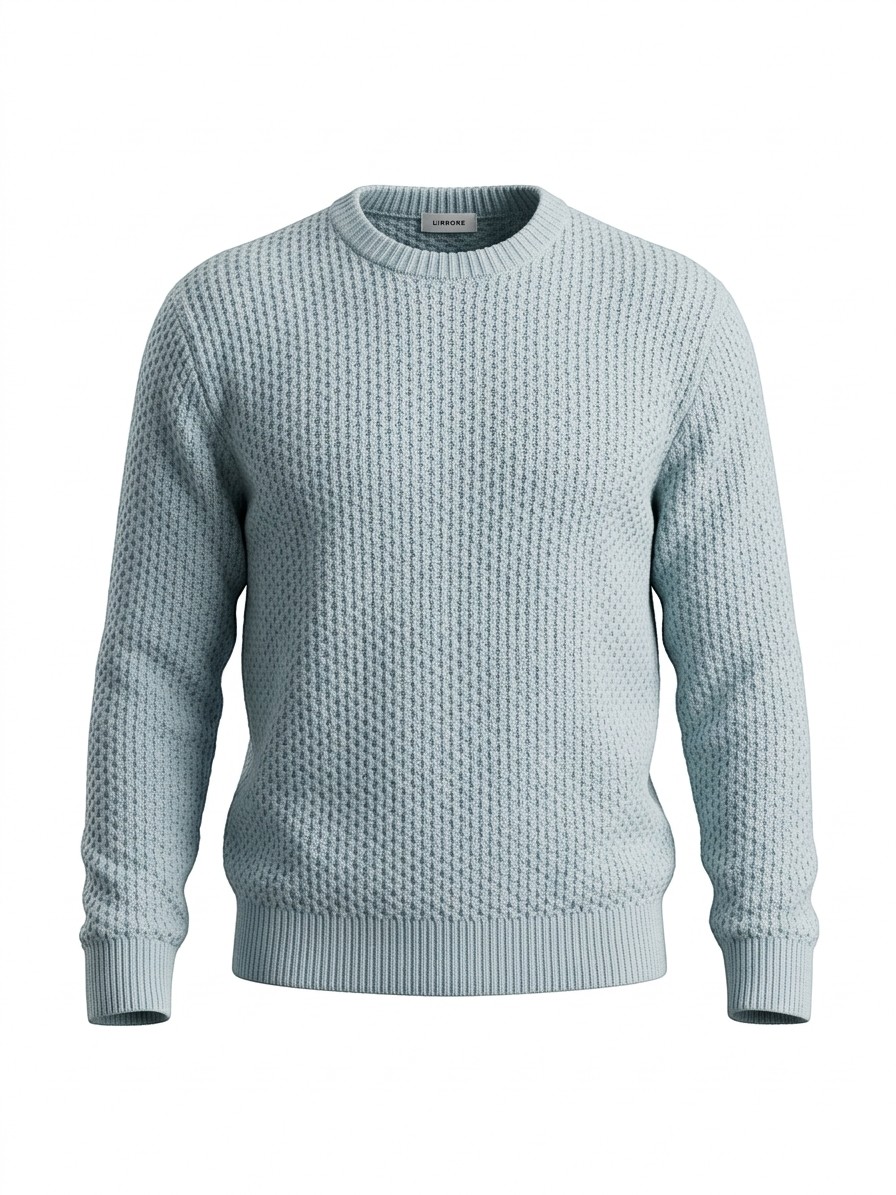
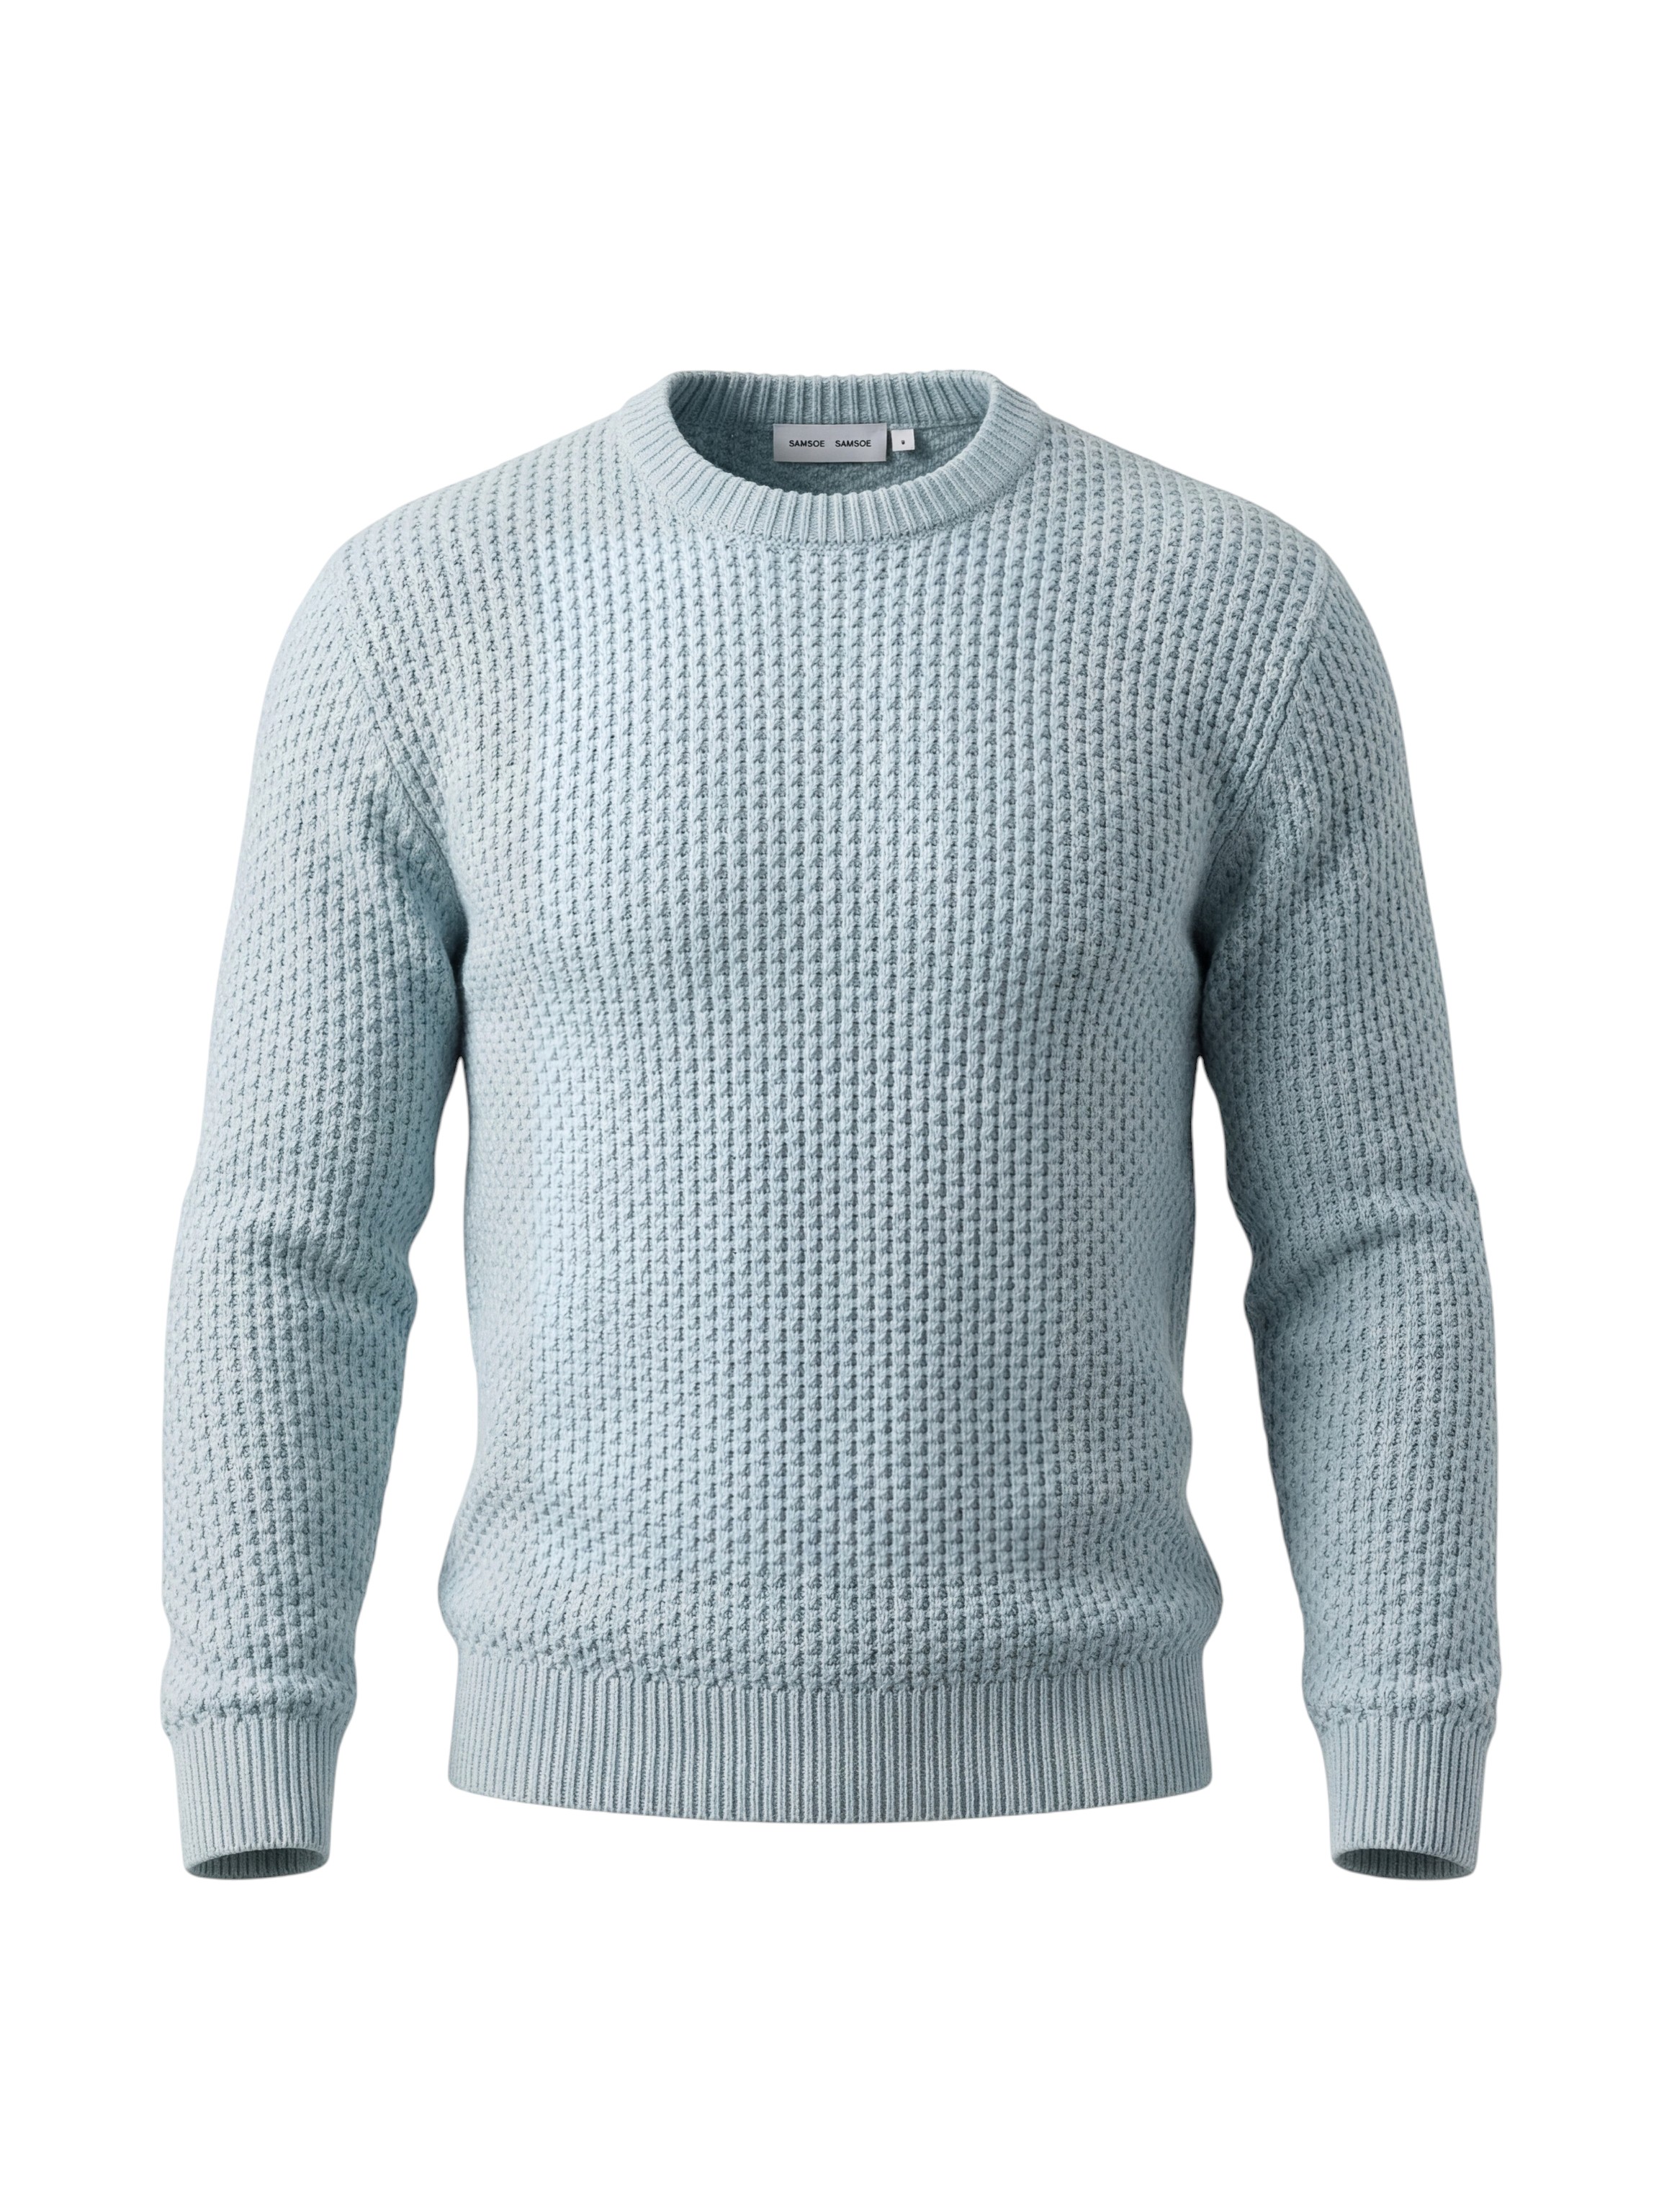
Other Angle
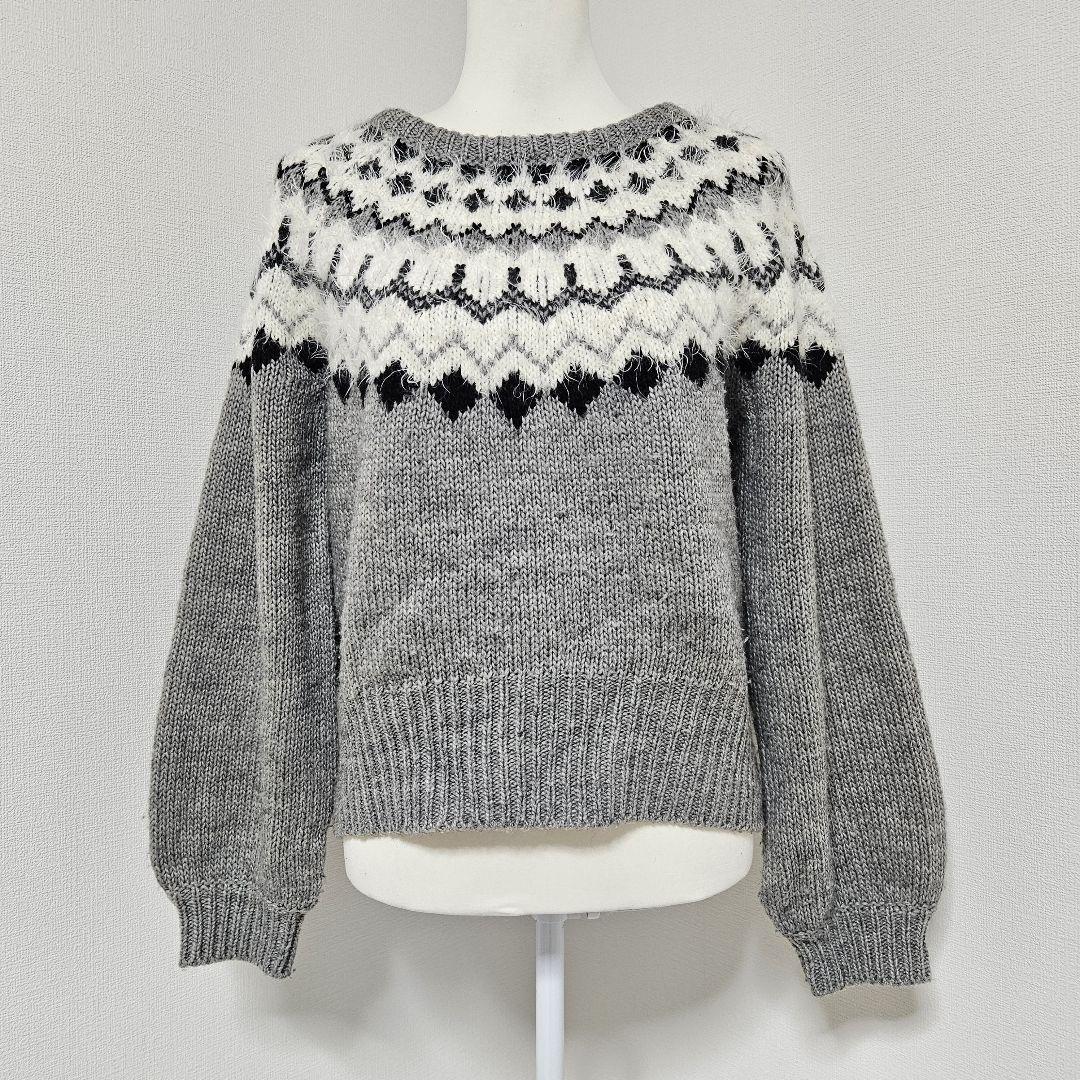
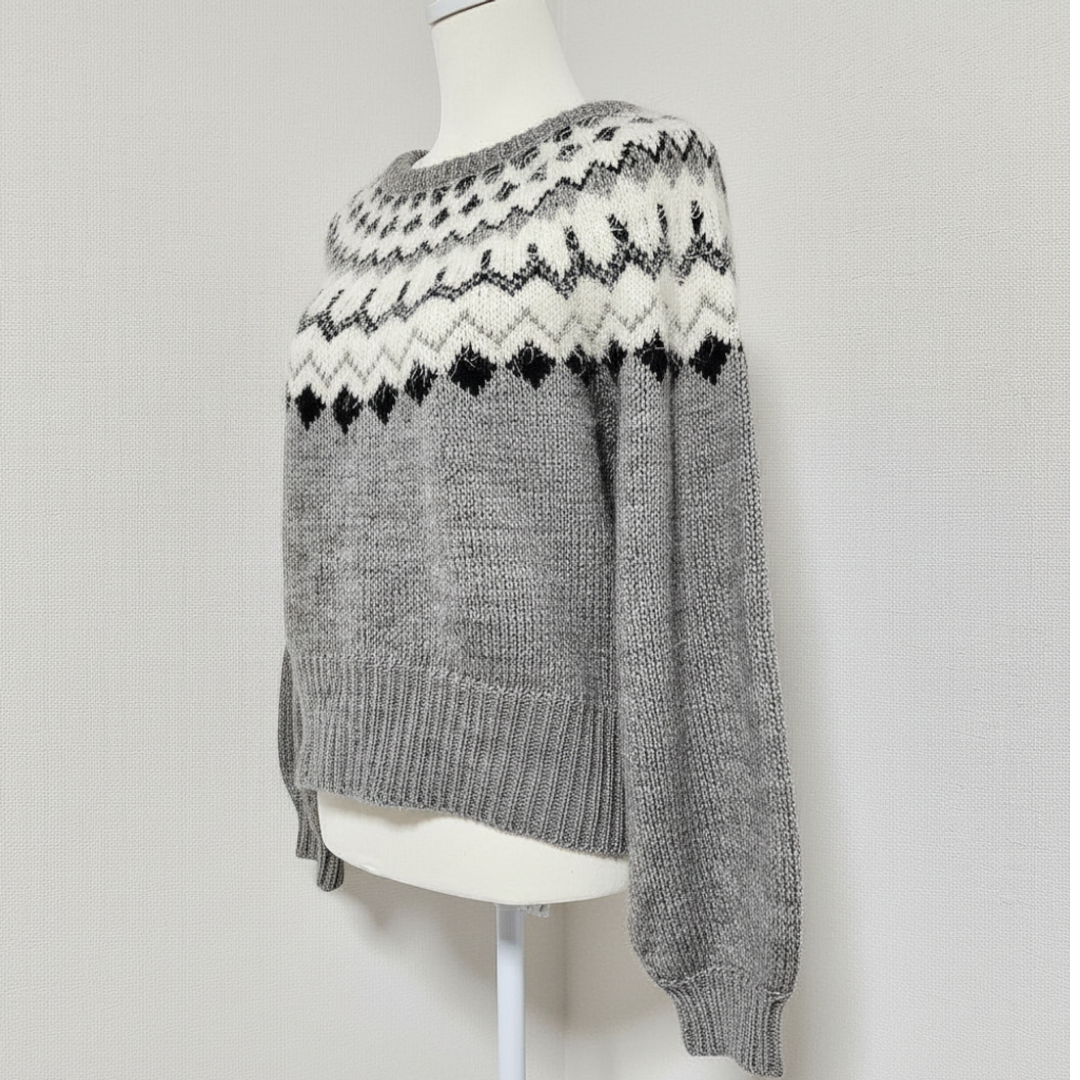
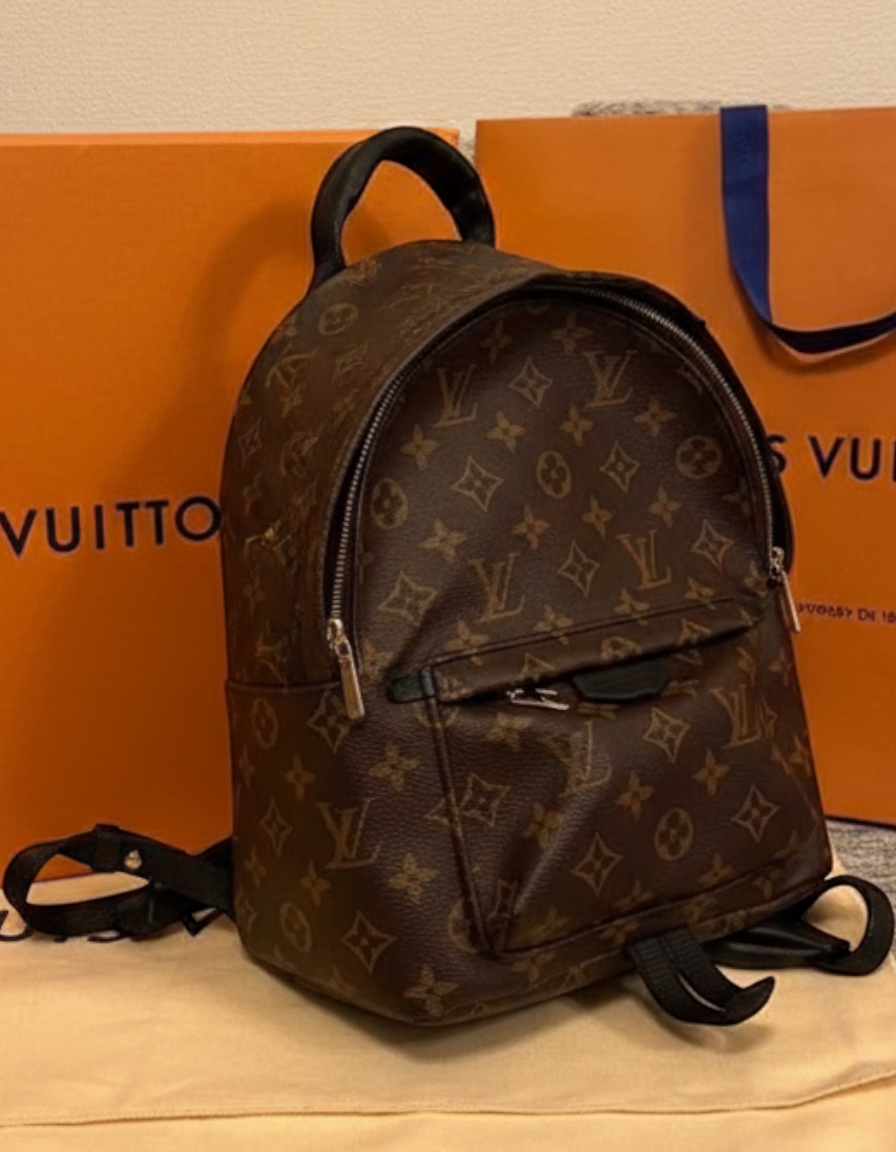
You can use Edit With AI to create a new image from a different angle.
To do so, set the following value for the argument editWithAI.prompt:
Here are examples of the results it can produce:
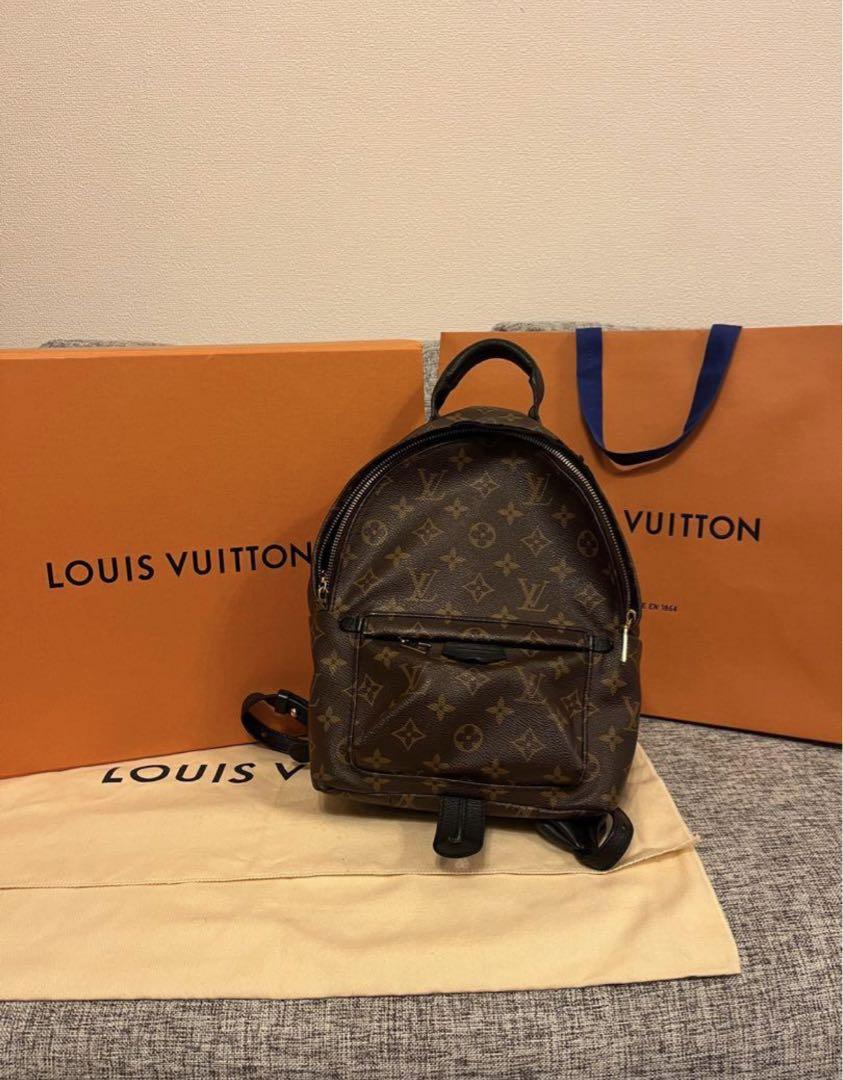
(original image)
(edited image)


If you want to give it a try, here's the code to reproduce the results above:
Using Additional Reference Images
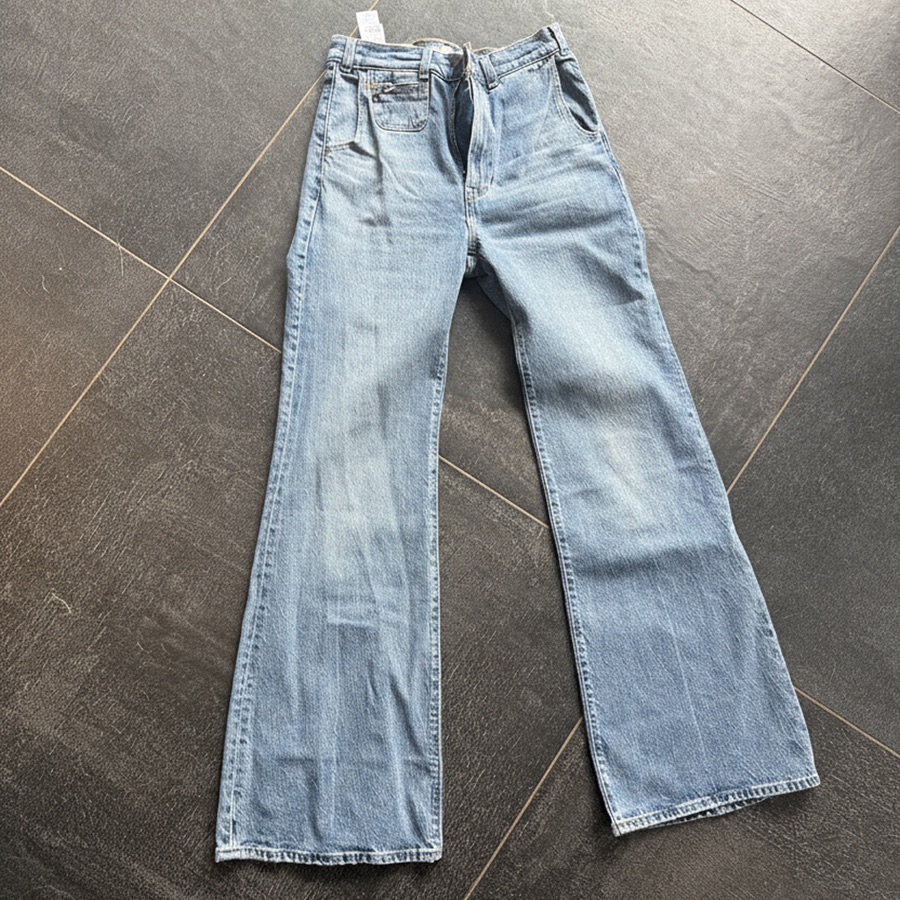
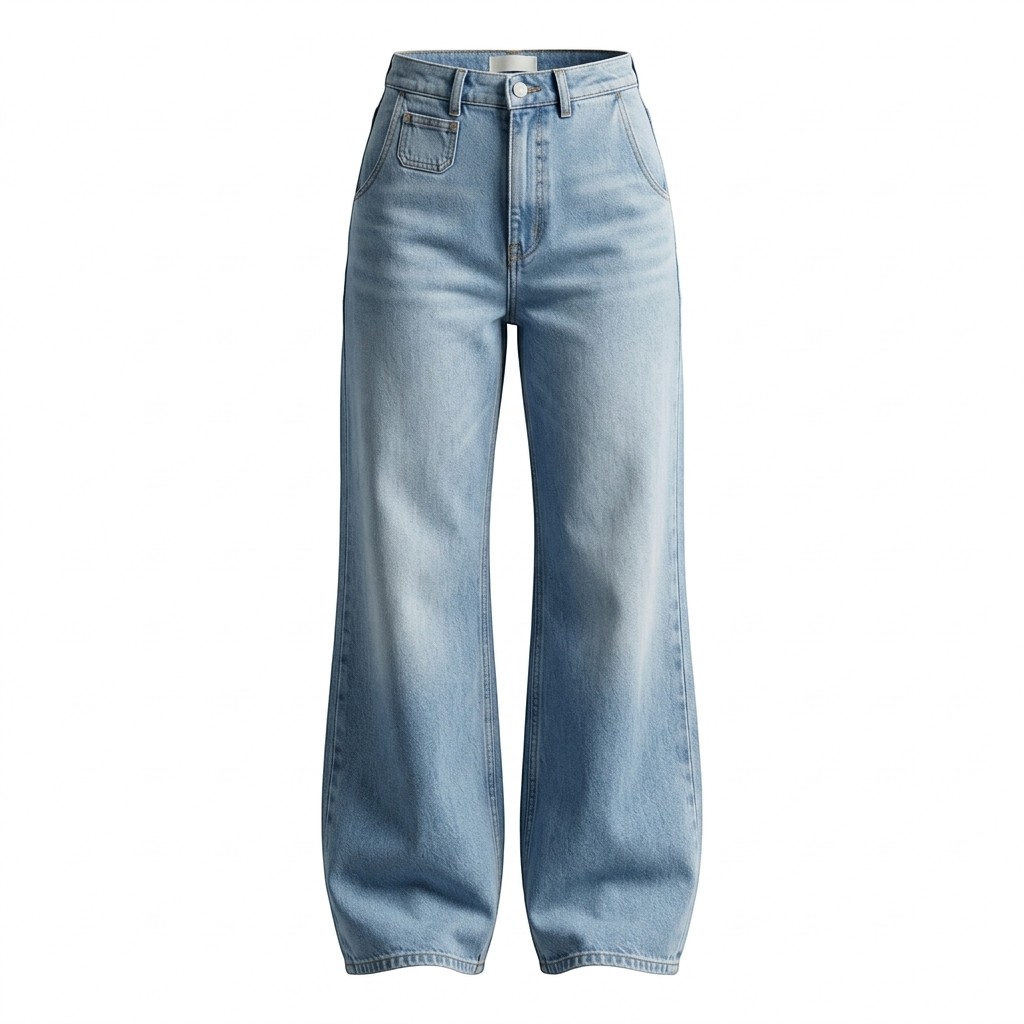
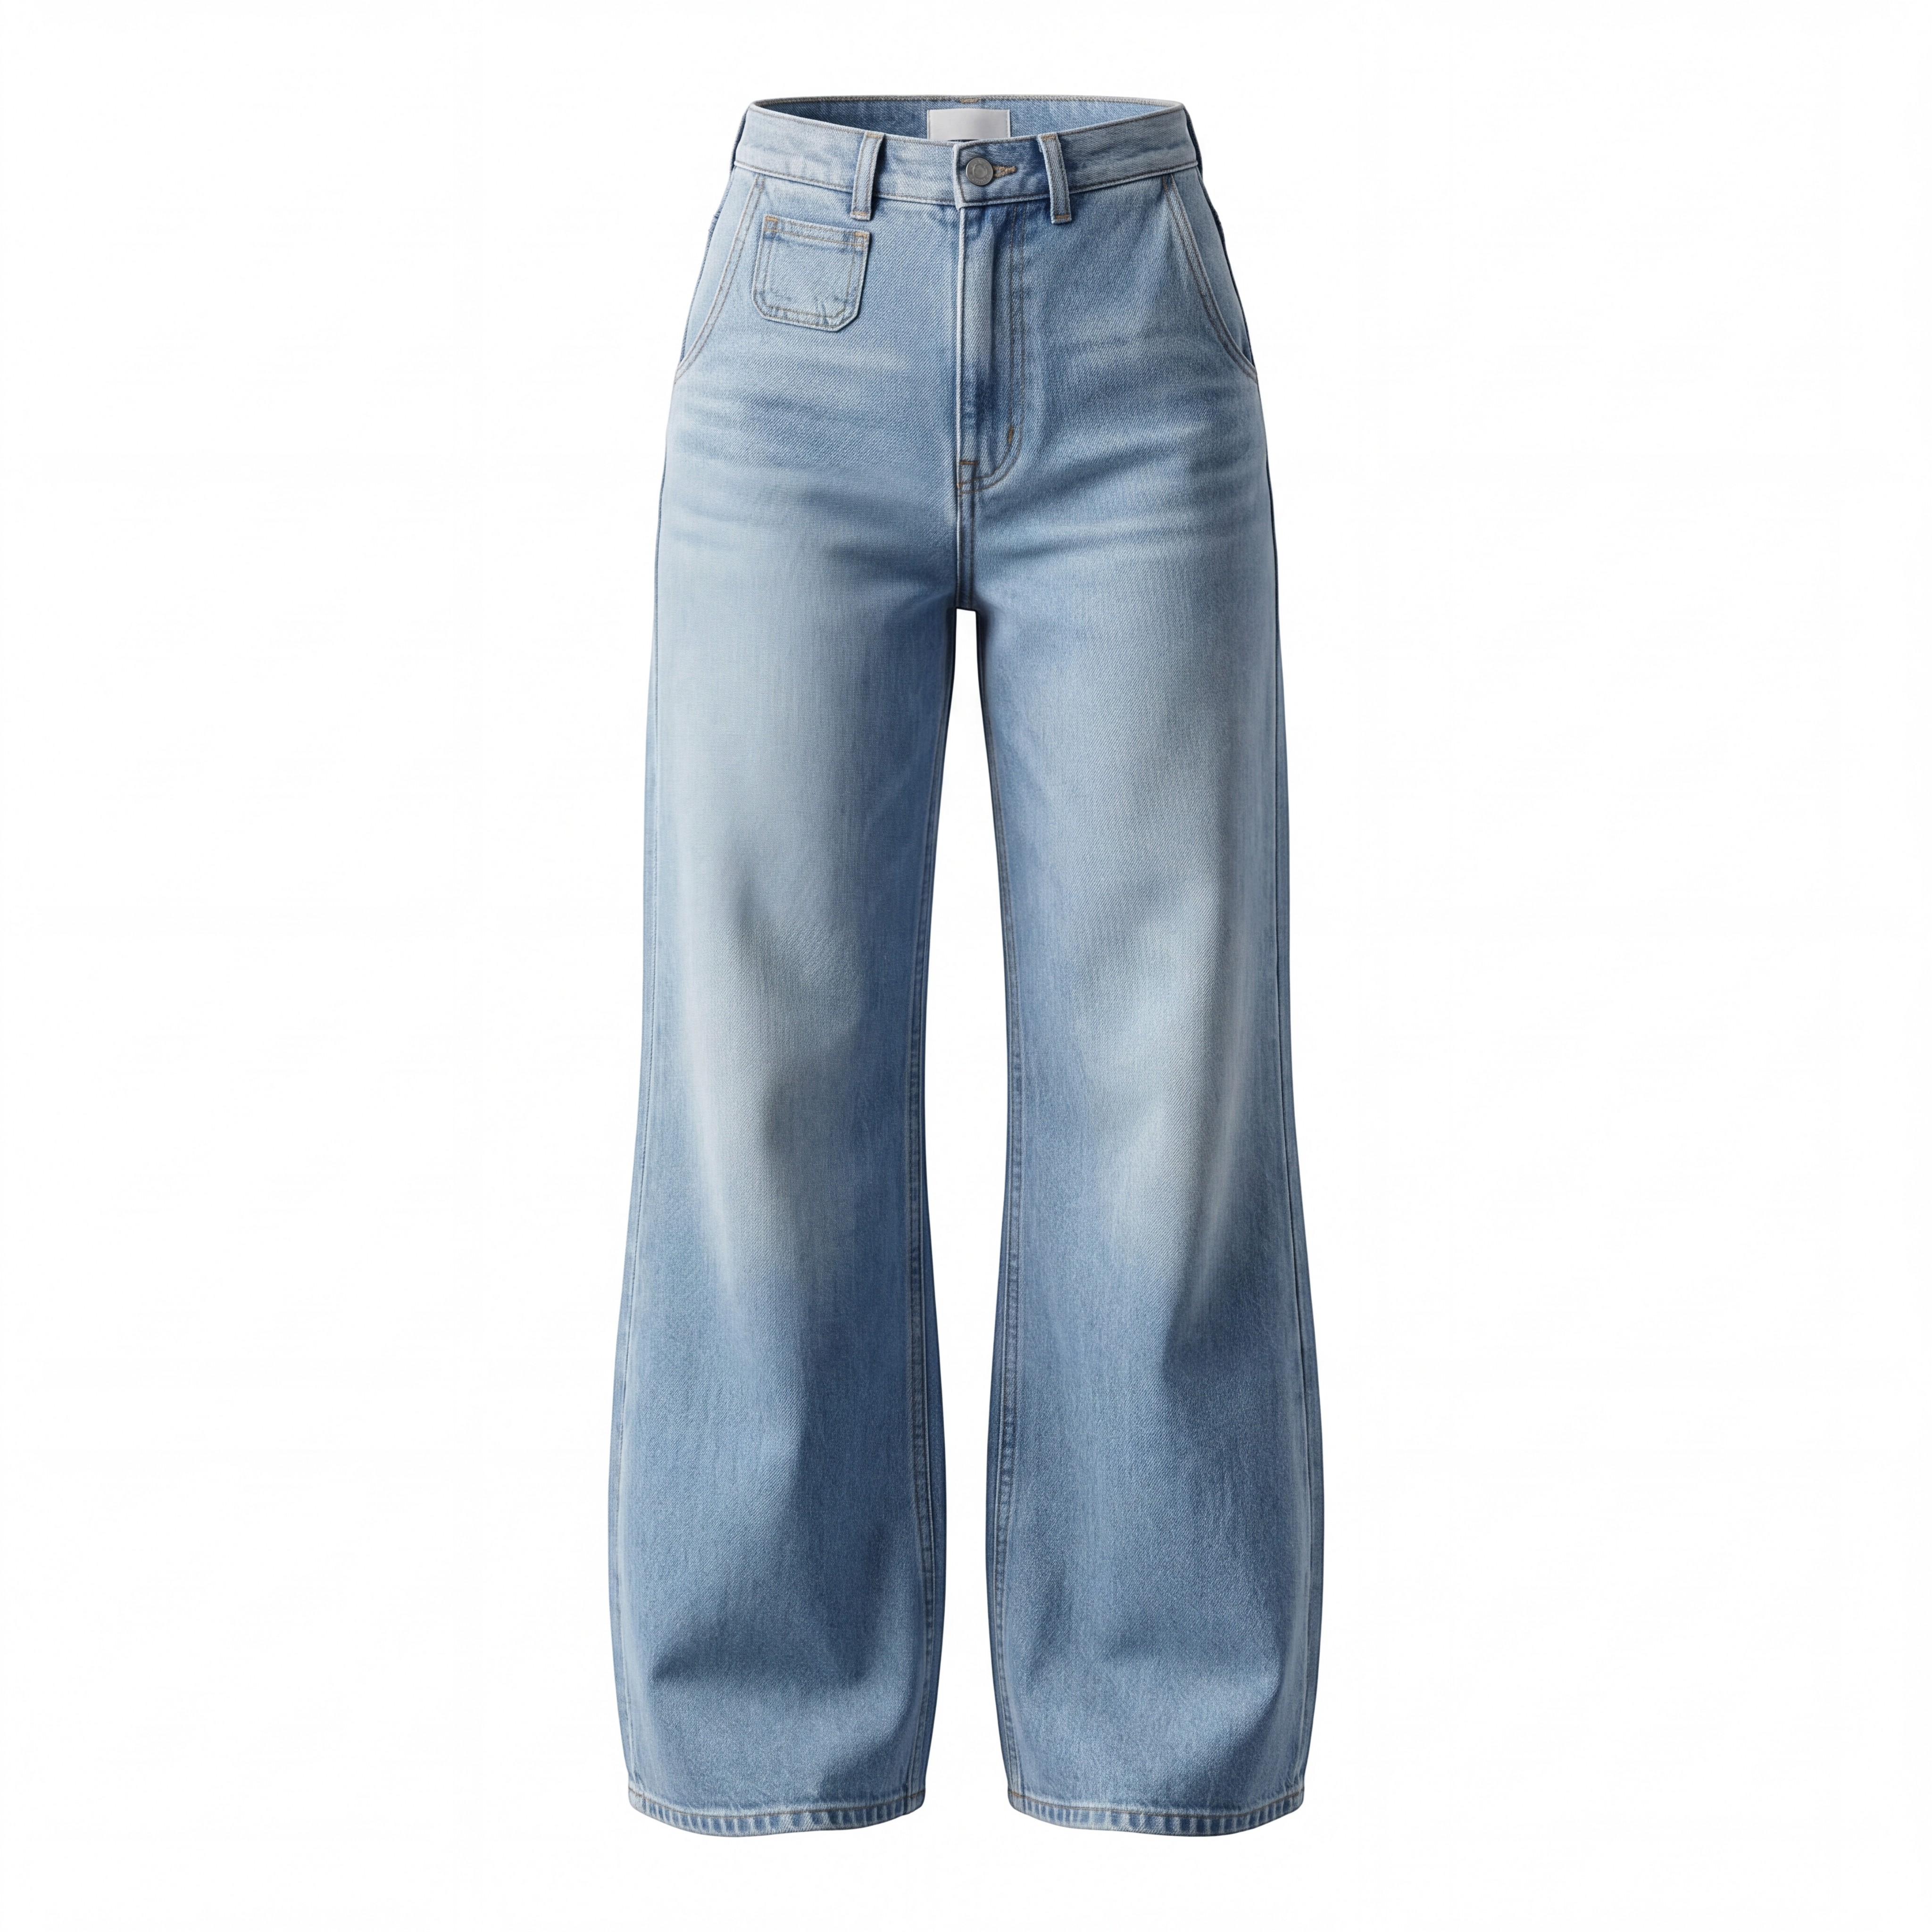
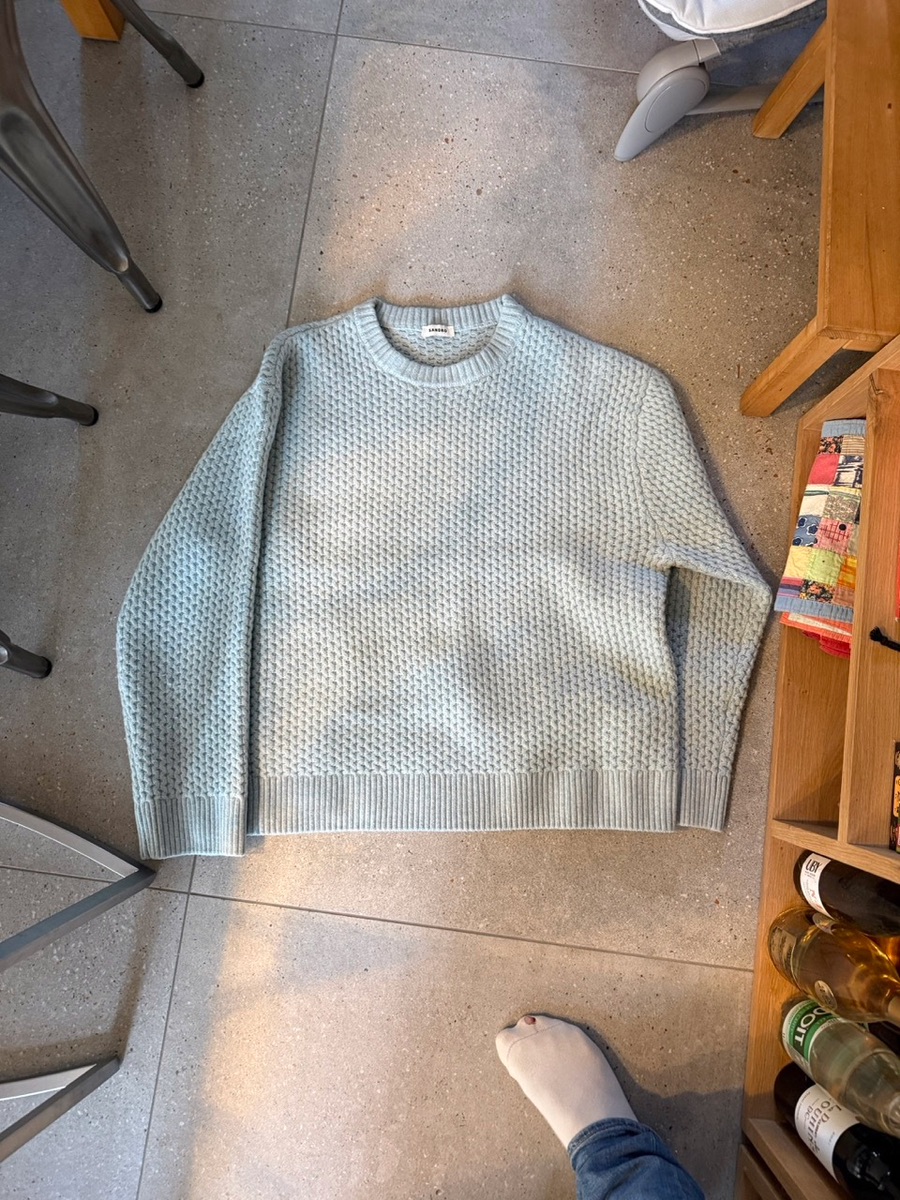
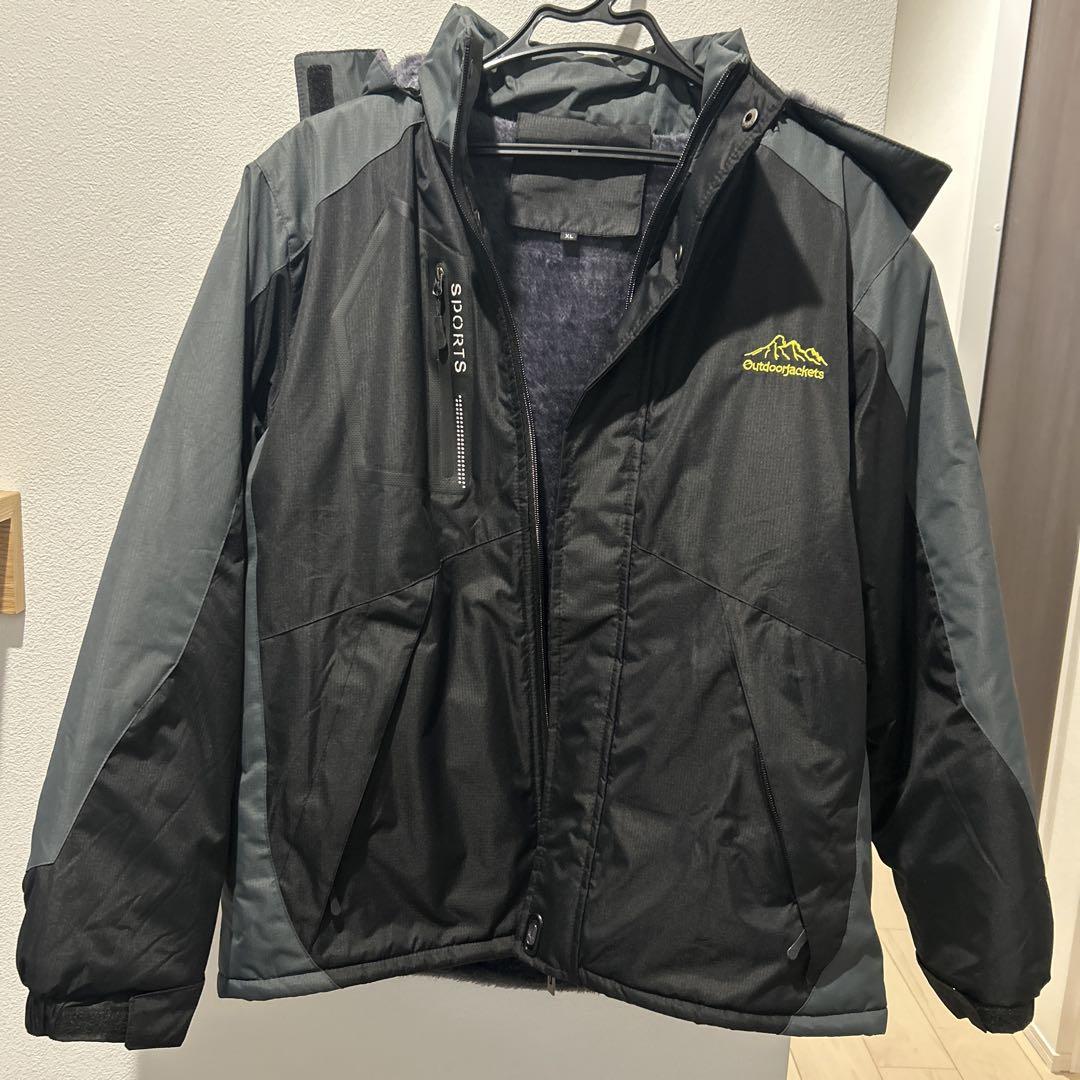
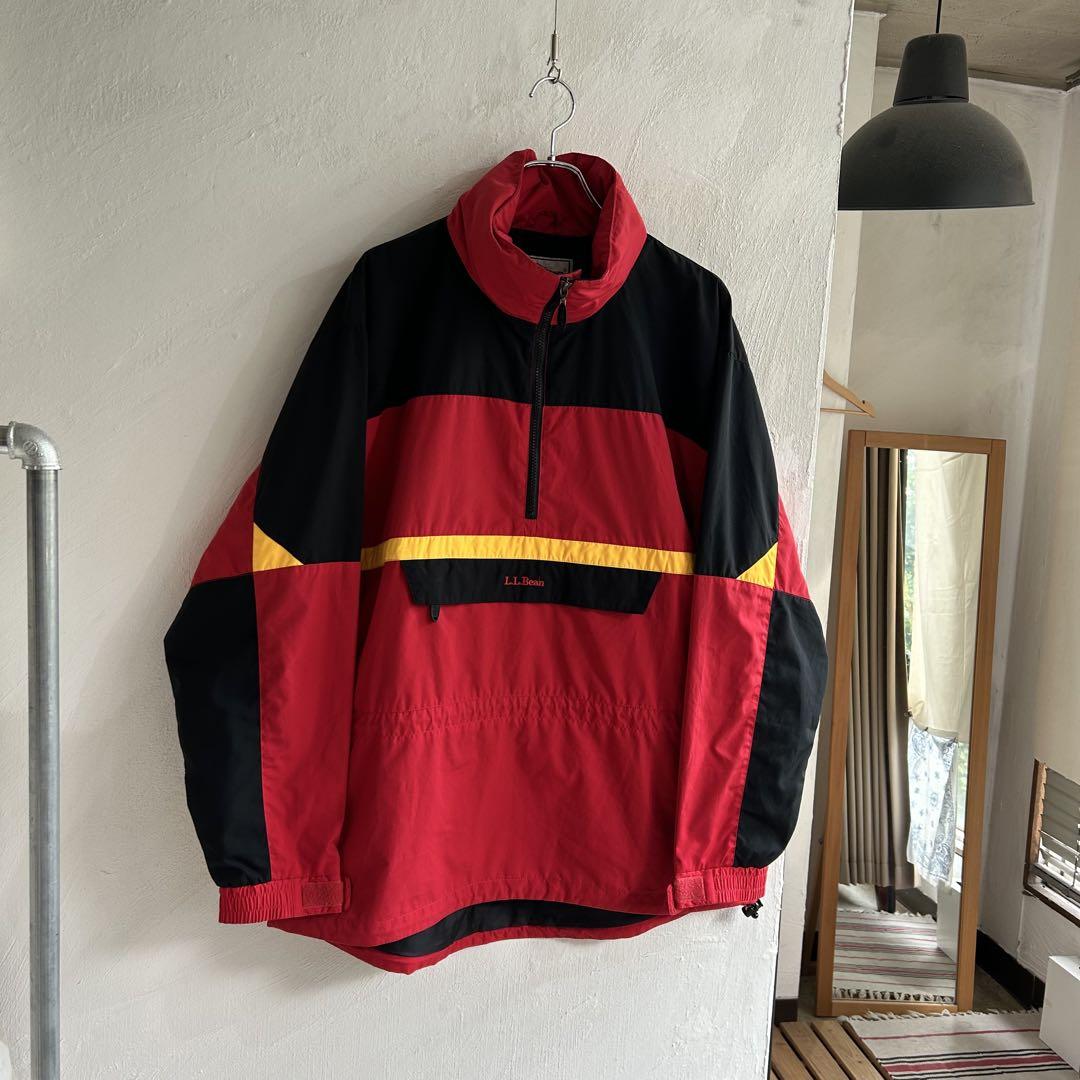
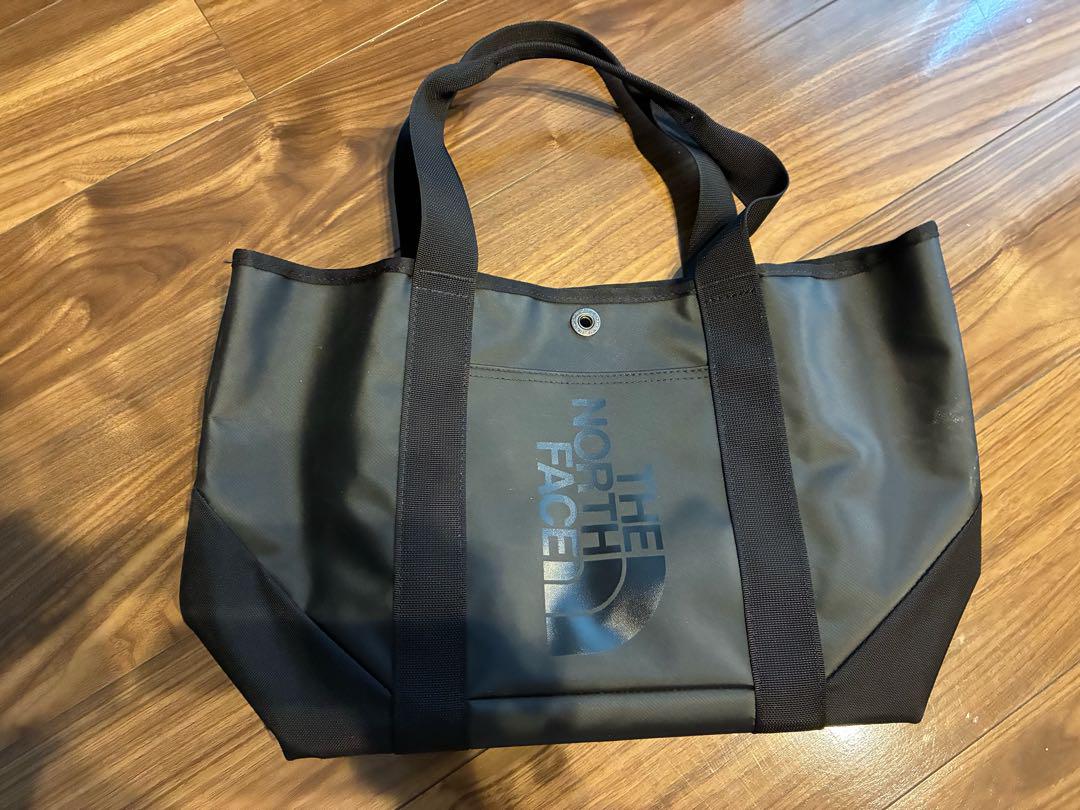
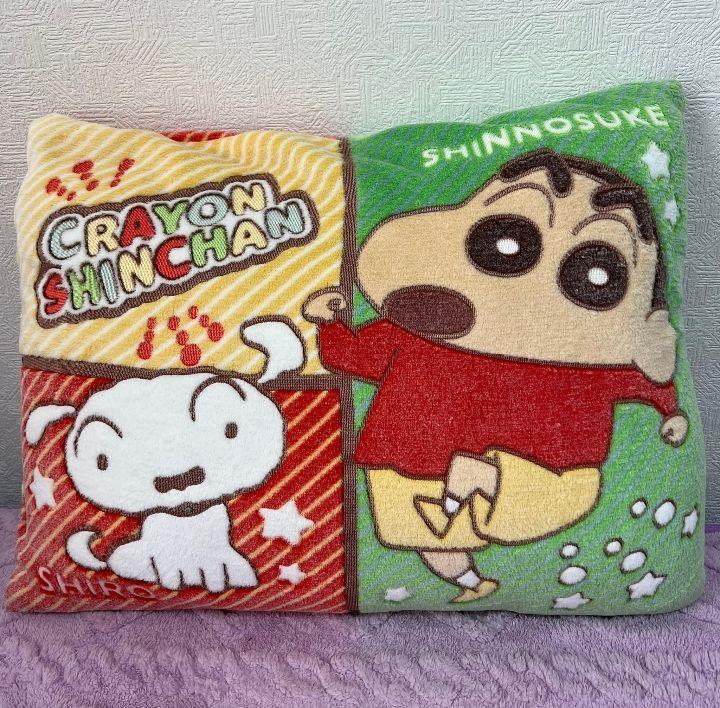
In addition to the main input image, you can provide up to 4 extra reference images to guide the edit. This enables a multi-reference workflow where the model can combine elements from several source images into a single output — for example, placing a product from one image into the scene of another, or transferring a scene, style, or object across images.
To provide additional reference images, use the editWithAI.additionalImages.* parameter group. Each reference image is given a name of your choice and must contain exactly one of imageFile (for local file uploads) or imageUrl (for remote URLs):
editWithAI.additionalImages.myFirstImage.imageFileeditWithAI.additionalImages.mySecondImage.imageUrl
Array-style notation is also supported: editWithAI.additionalImages[0].imageFile or editWithAI.additionalImages.0.imageUrl.
If you want to give it a try, here's the code to reproduce the example above:
You can also pass references by URL:
What are the Limits?
Edit With AI currently support up to 5 total images per request, including the main input image. In practice, this means you can provide up to 4 additional reference images via editWithAI.additionalImages.*.
If you need higher limits, please contact our team to discuss your use case.
Additional Parameters
editWithAI.seed
If you make several calls to the Image Editing API with the same image and prompt, you will notice that it will generate a different edited image image every time.
In order to reduce the randomness, you can set a fixed value for the seed that the API's random generator will use. The value of the argument editWithAI.seed can be any positive integer.
If you provide a value for editWithAI.seed, then the API should produce similar-looking outputs for the same image and prompt.
Last updated
Was this helpful?